Well surprise, surprise! It’s me, still behind on writing about our most recent adventures or not so recent adventures anymore. Garnet and I just got back from a 7-day backpacking trip through the remote and rugged Jarbidge Wilderness in Nevada. It was equal parts challenging, beautiful, and rewarding. Unfortunately, it ended on a slightly sour note when we realized a mouse moved into my car while we were away. It had taken a bite out of all the food we had stashed in the trunk for our drive home and even decided to take a few holes out of Garnet’s newer shirt. This is how we found ourselves at the Sleep Inn in Jerome for our final night of the trip. Our original plan was to car camp in one of the many free BLM campgrounds along the Jarbidge River like we had on our first night of the trip. But once we stopped we could hear it in our console still and were unable to get it out when I opened my air filter. We hoped by taking everything out of the car into the hotel that it would vacate and save ourselves any additional damage to our gear. We even set some traps in the car for the night, but ultimately didn’t catch anything. This is my wordier way of saying we were closer to civilization after our trip and it set us up nicely to visit some fire lookouts. We had briefly talked about stopping at one of these fire lookouts on the way out during our drive down. Though I think if we were still camping along the river the last night we probably wouldn’t have had enough time to do both plus drive the 10 hours back home.
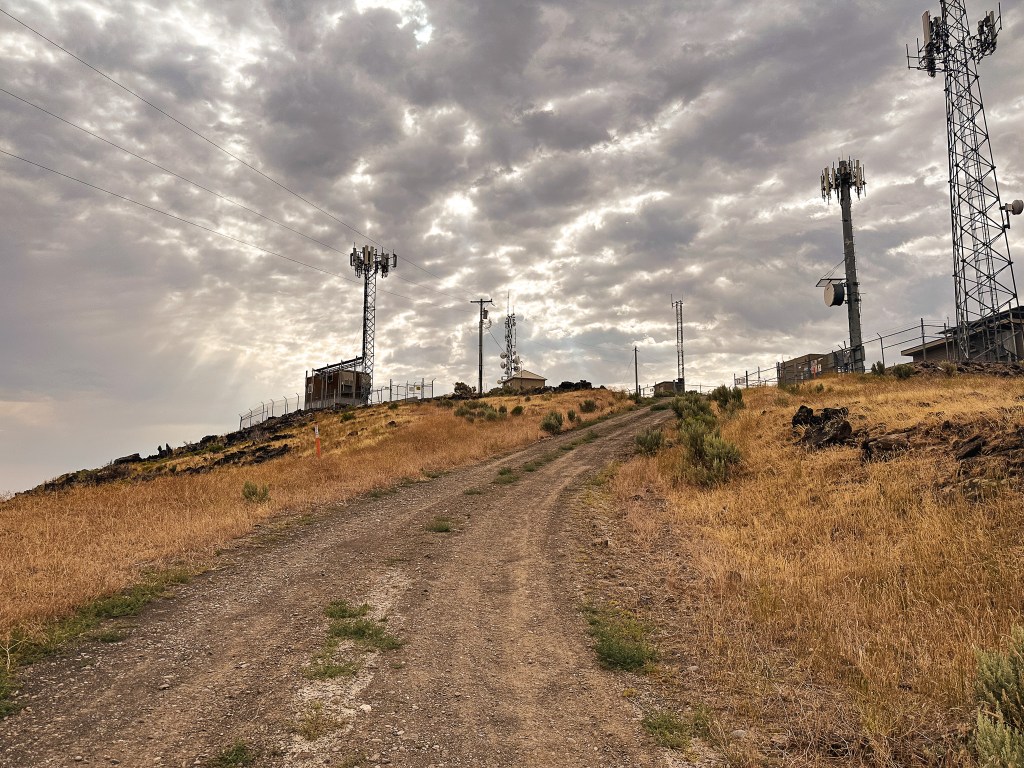
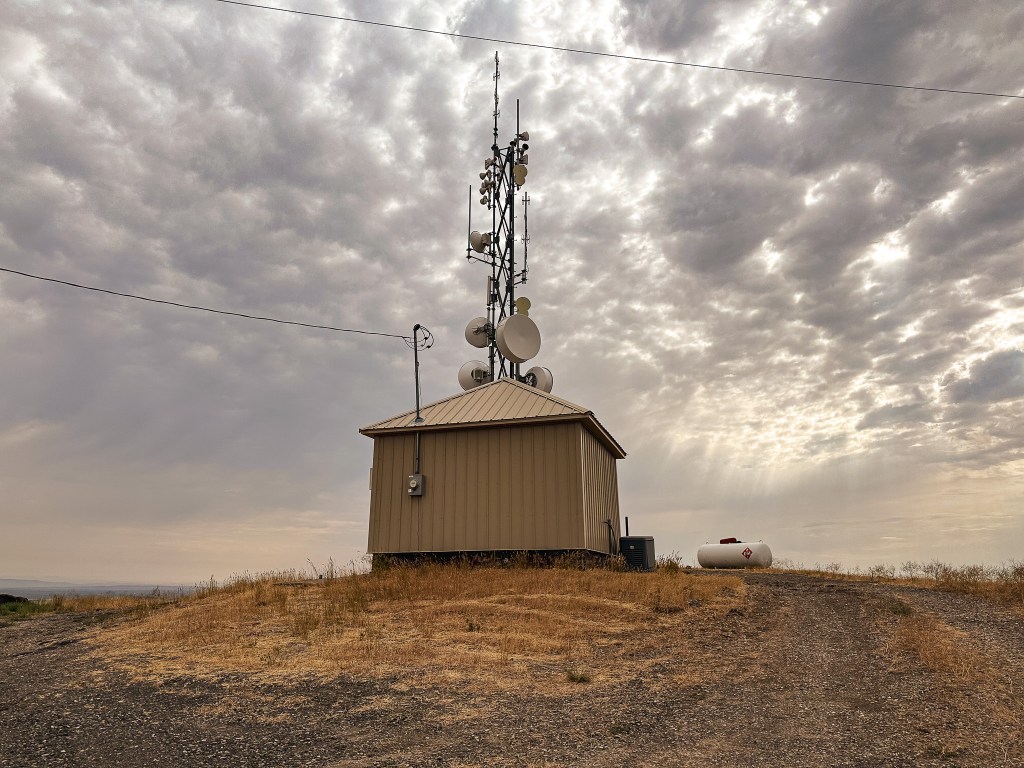
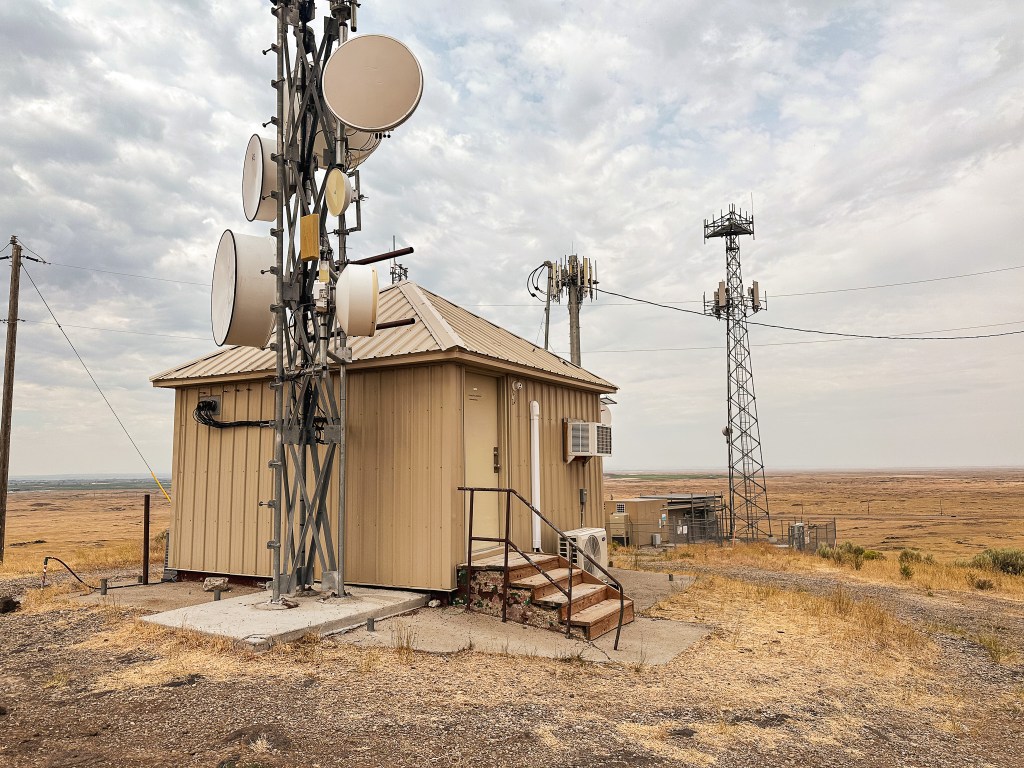
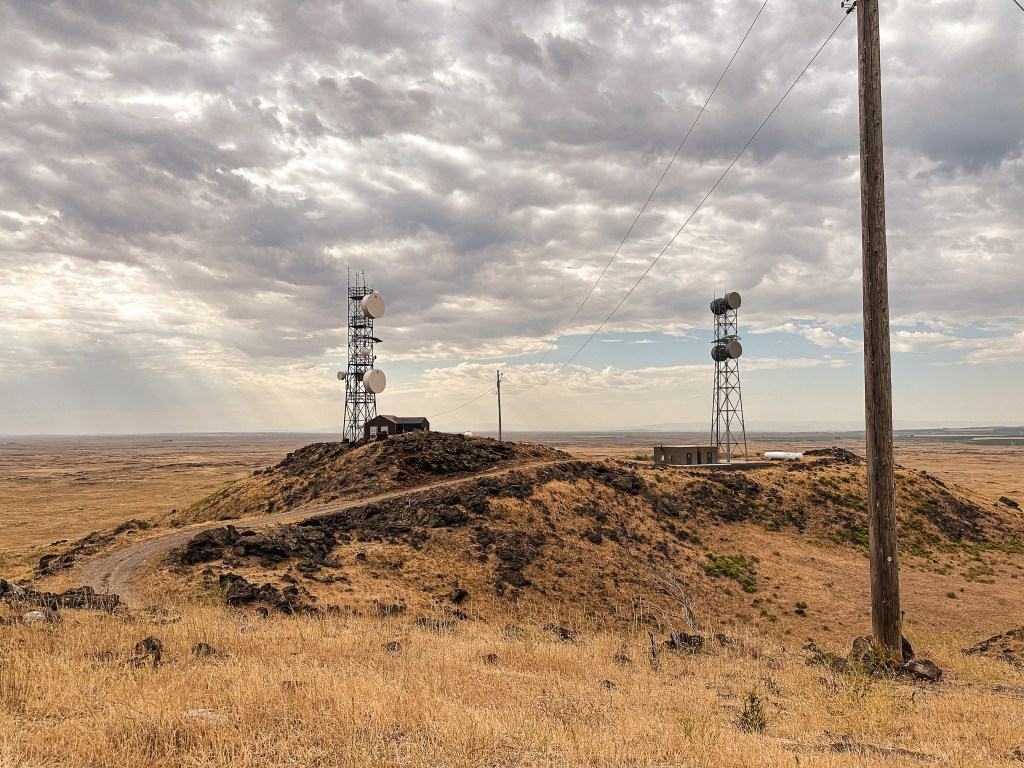
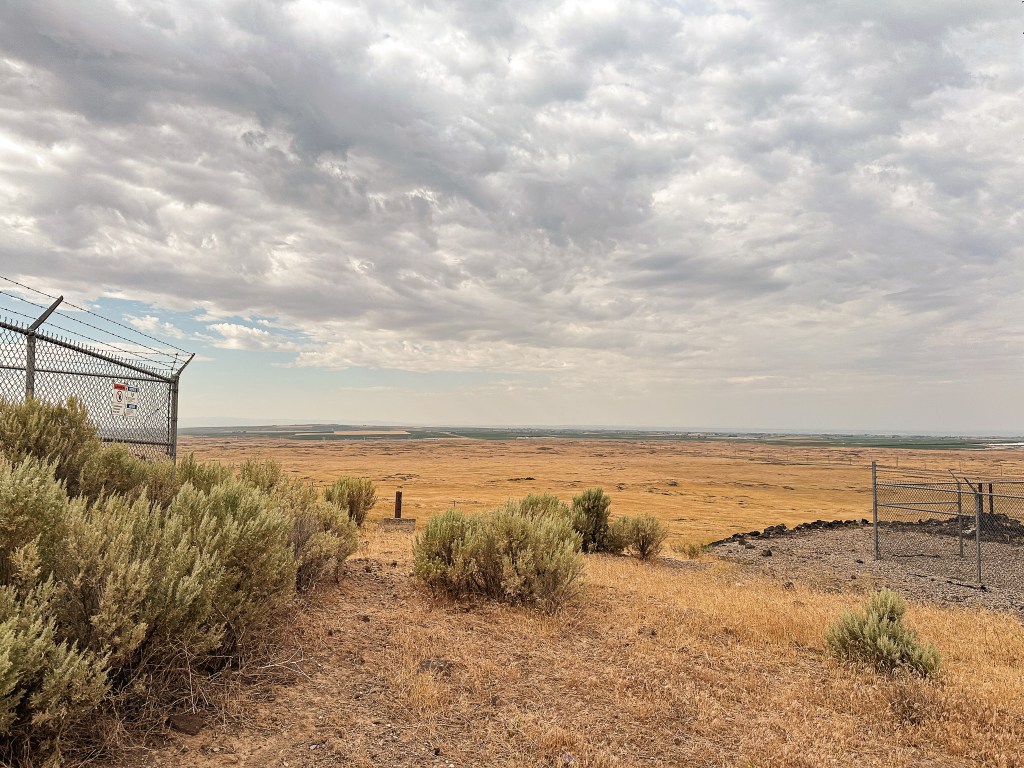
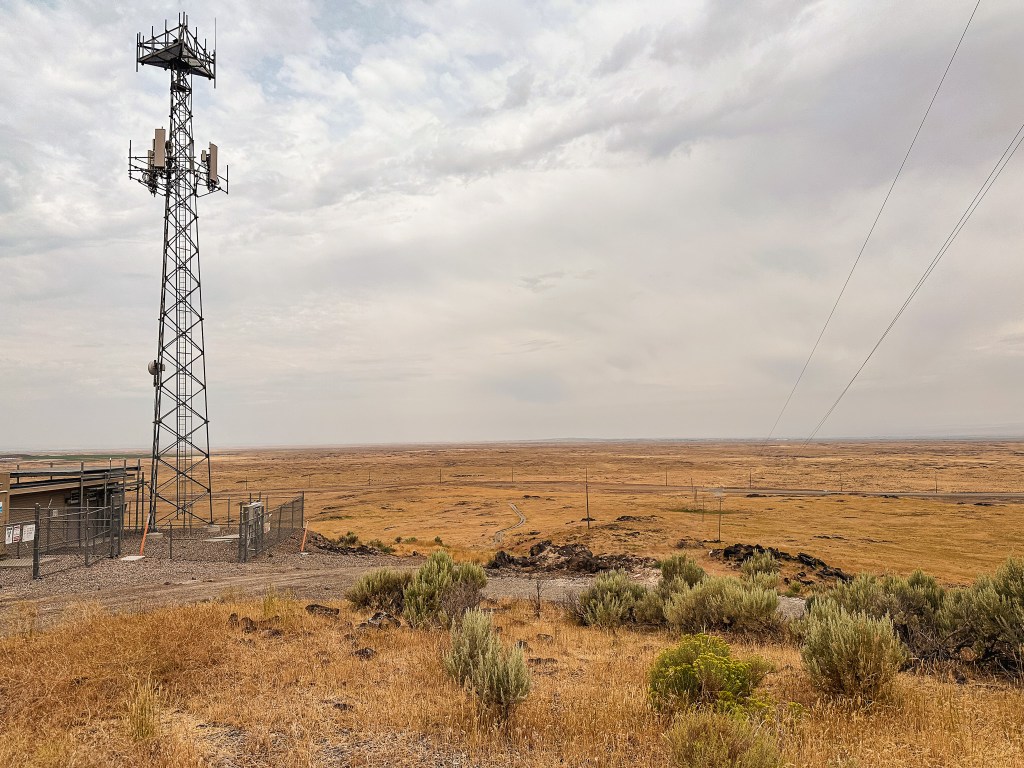
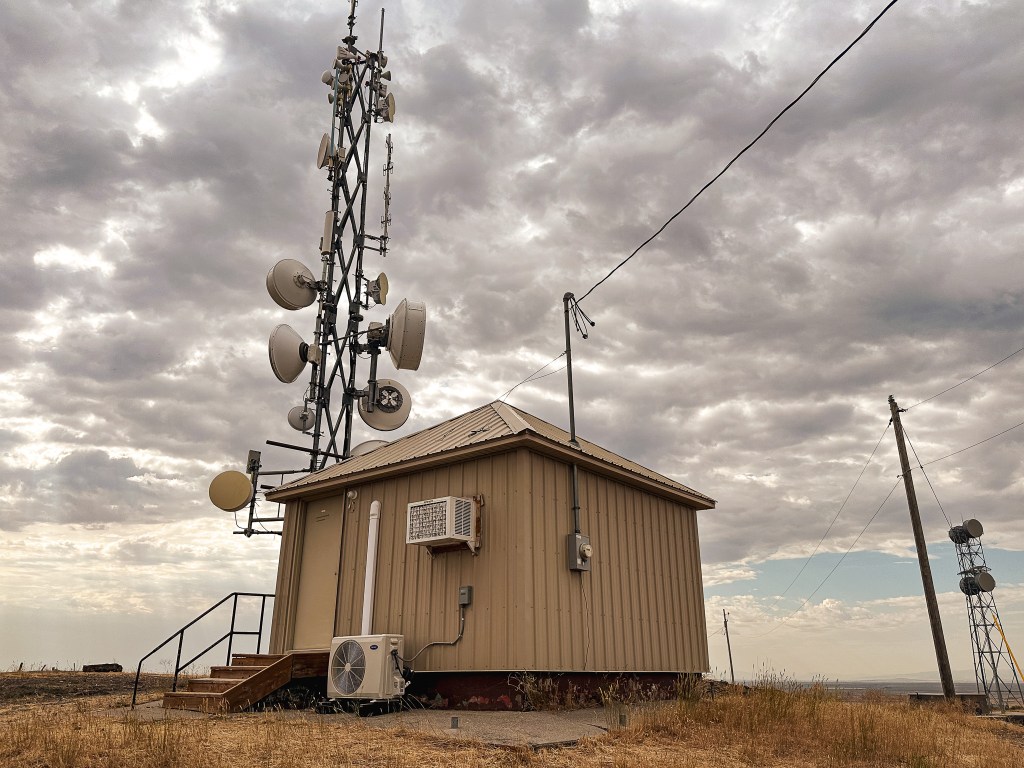
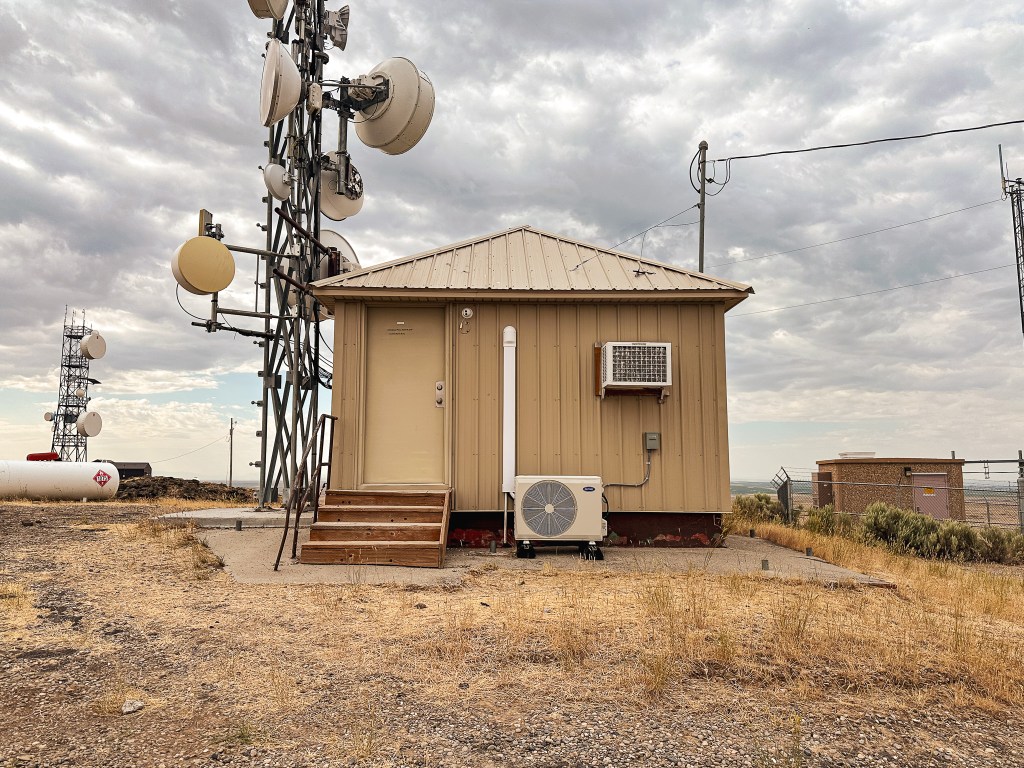
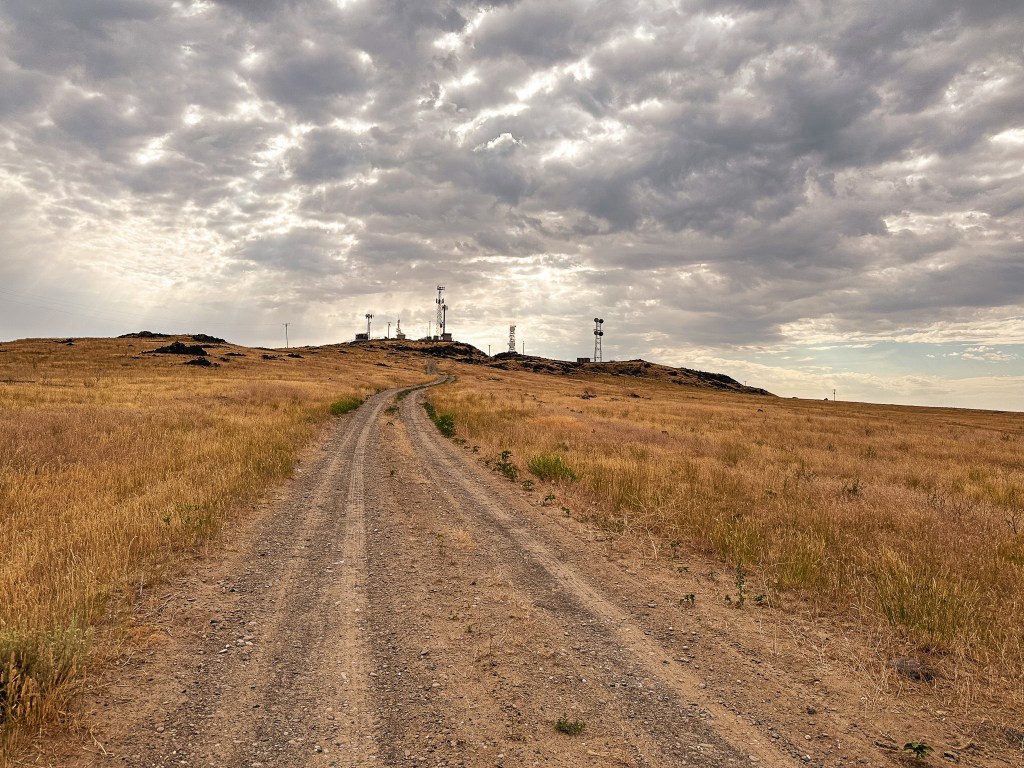
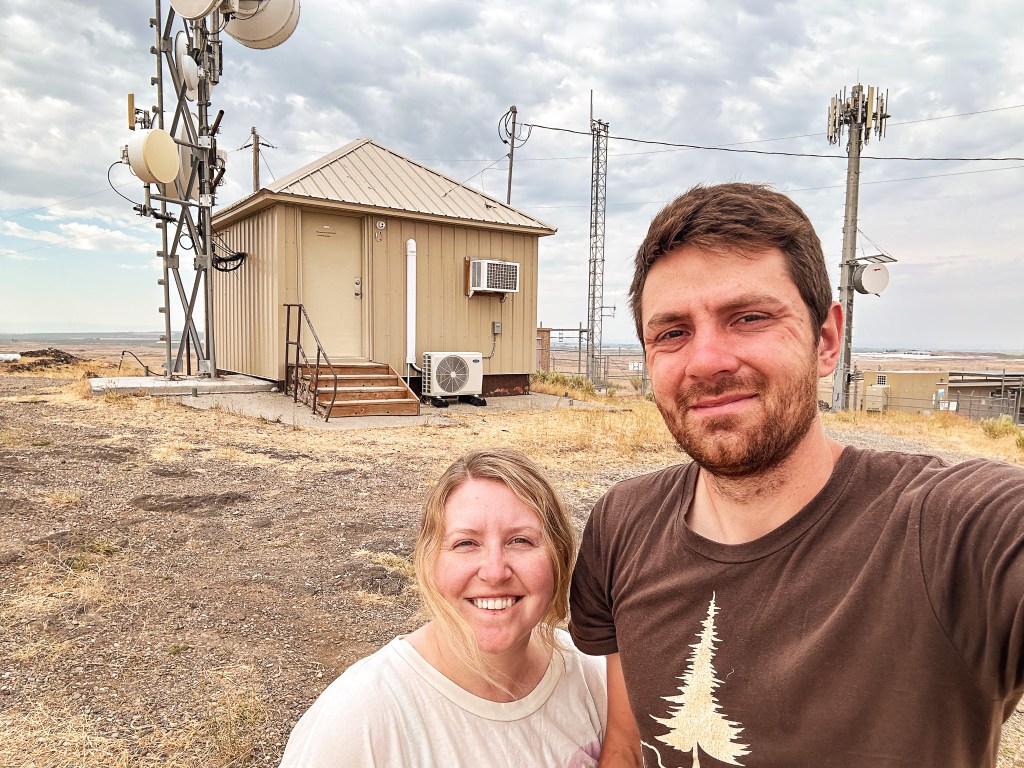
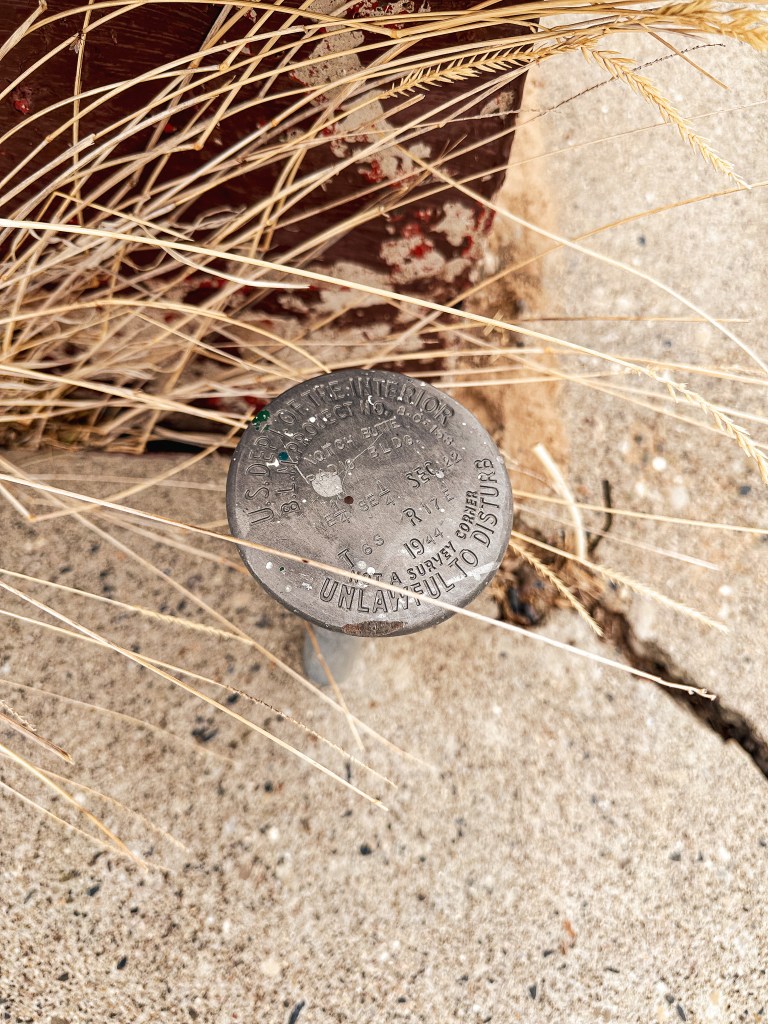
Notch Butte is located roughly 15 miles outside of Jerome and 4 miles South of Shoshone just off of HWY-93. This area of Idaho is made up of flat farm land and the butte is easy to spot from the highway. The road is noted as Notch Butte road on Google maps, but it was unsigned during our visit. Heading North from Jerome towards Shoshone, it was our first turn off to the right after milepost 70. The road is gravel with some minor ruts in it, but any car should be able to drive to the summit. I personally decided to park and walk since it was such a short distance. The road is a little over half of a mile from the highway to the summit. After making the turn from the highway you will pass over a cattle guard and veer left at the unmarked junction to reach the summit. Not to say it should be obvious, but it should be obvious. The surrounding field seemed to have a lot of vole activity and we even saw an antelope crossing the road while we parked. There’s not much else to note except it was muggy and hot. This is the first fire lookout we have had the chance to visit in Idaho and it won’t be our last. This is a state we’ve both talked about exploring more of often but have not yet carved out the time to do so. It has been slowly creeping closer to the top of our priority list.
History.
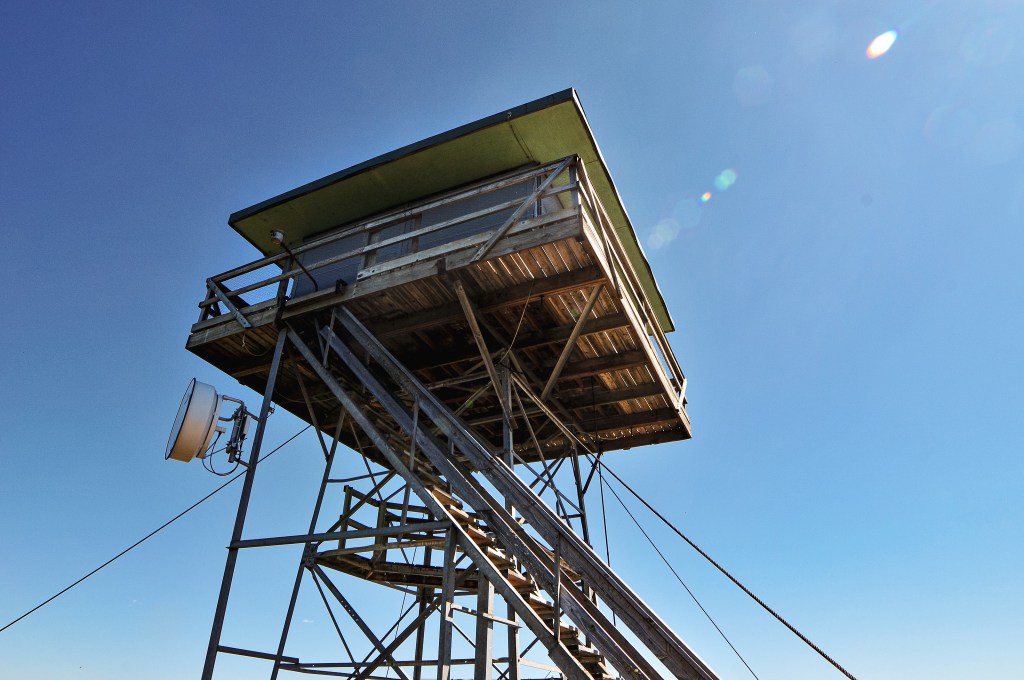
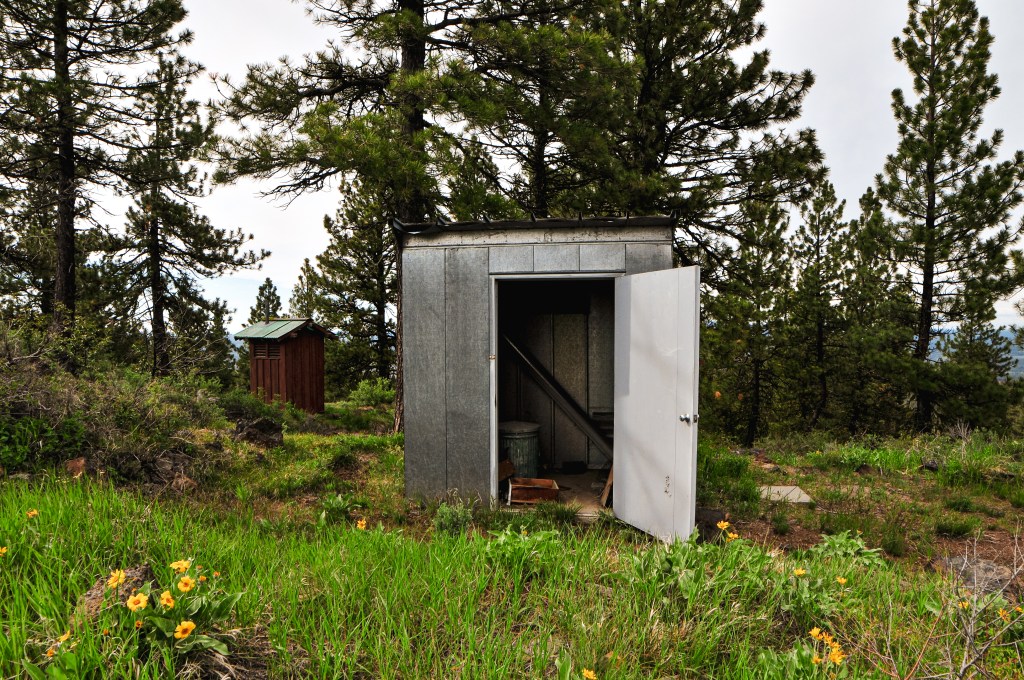
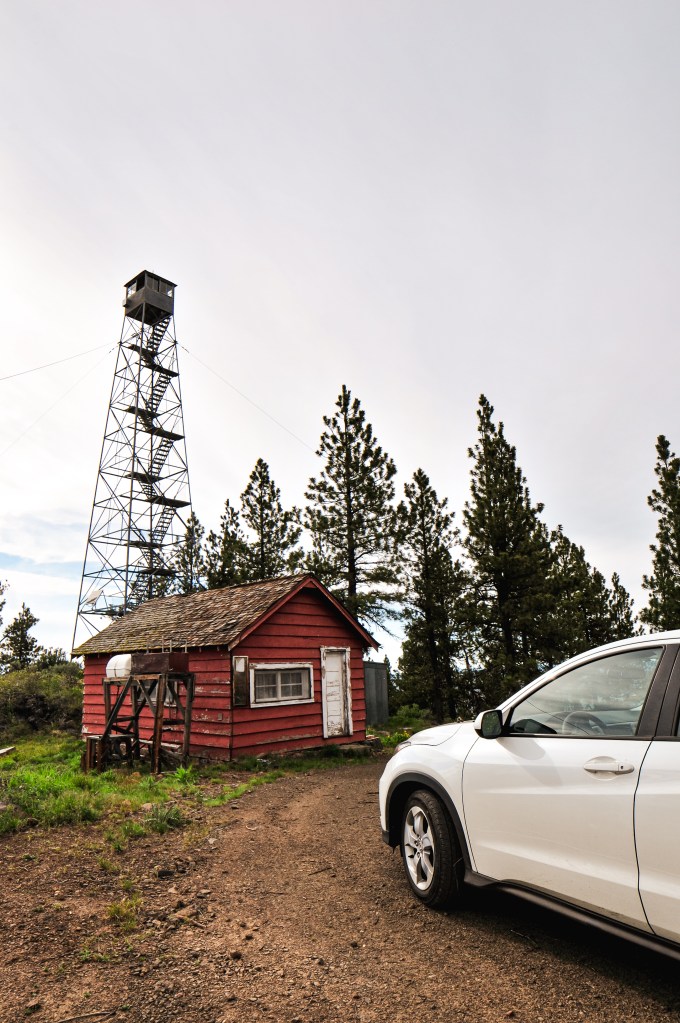
Built in 1941, the lookout on Notch Butte was a 14’x14′ USFS Region 1 ground cabin. It is noted as being used for emergencies into the 2000s, but has since been converted into a communication building. I wish there was more information on why they chose to build a fire lookout here. It seems it was mostly used to spot fires on range land surrounding the Union Pacific railroad.
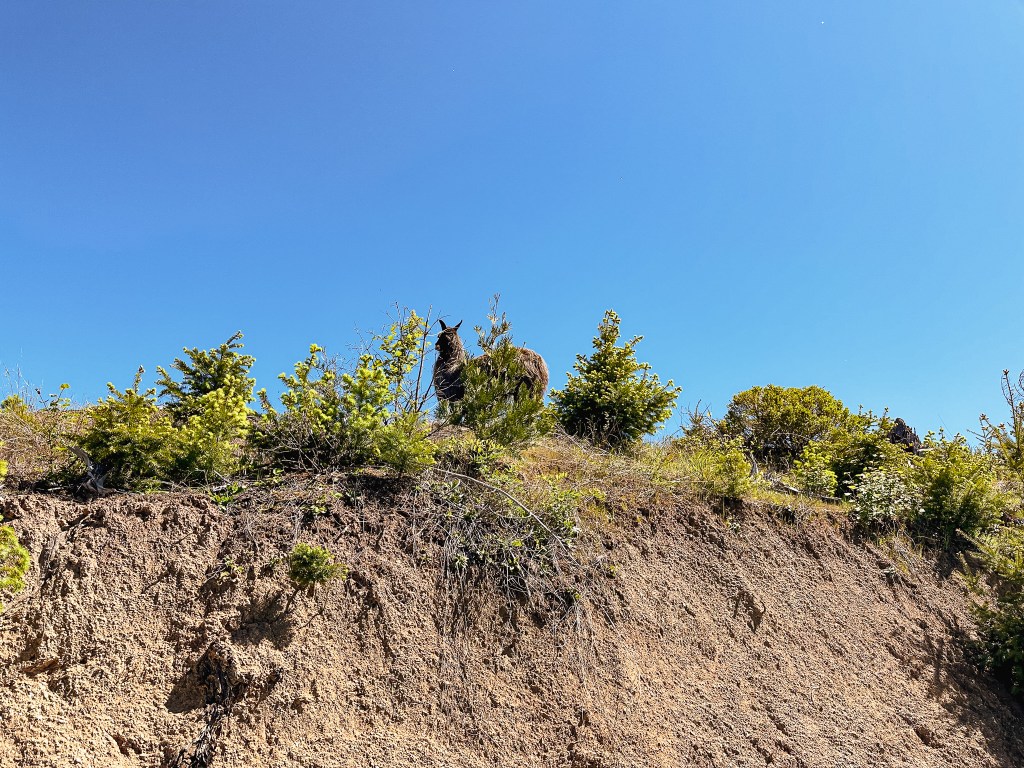
We were headed out on a four day trip to explore the South Umpqua drainage in celebration of Garnet’s 30th birthday. I had booked Pickett Butte for two nights and we planned to disperse camp for the third night. Bland Mountain was planned as our first stop before heading into the forest for the weekend. It is located just outside of the community of Days Creek on BLM land. From Portland, we shot down I-5 all the way to Canyonville and turned onto county HWY-1 to head towards Tiller. We followed this to Days Creek where we hung a left onto Days Creek Road. The road is located right off the bend entering the community. We were following the directions off a Peakbagger report from Dennis Poulin. He seems to have a lot of helpful reports on Peakbagger in relation to accessing fire lookouts. I always click on his reports first when I see his name listed. Unfortunately, we saw somewhere that he had passed away (may he rest in peace). His directions indicated that the BLM road 30-4-10 was only 2 miles down Days Creek Road. This was helpful since most of the roads off of Days Creek are private drives. There was a sign for the BLM road, but it would have been impossible to spot from the main road due to it being turned around and slightly leaning in the brush. It’s easy enough to locate if you keep an eye out for a main gravel road off to the right around the two mile marker. Once on the BLM road 30-4-10 its a little under 2-1/2 miles to the gate for Bland Mountain. There was one junction that wasn’t mentioned on the directions after we entered a clear cut and had a view of the fire lookout ahead. The road we were on looked to continue straight but there was another road veering right that looked like it could have headed toward the summit as well. We stayed left (straight) since it wasn’t mentioned. The next junction we met off to the right was on a bend in the road and was the one we took to reach the gate. The gate is shortly after you start up this road and doesn’t offer much room to turn around. I’d recommend parking below and hiking up from there if you’re not comfortable making a tight turn around or backing down the road. We parked at the gate and prepared to walk the remaining distance. As I was turning around the car I noticed an animal off to the left. This might be one of the strangest things I’ve seen in a while, but it was a llama free range grazing near the gate. I can only assume it was owned by someone in the area, but there was no one else around that we could see.
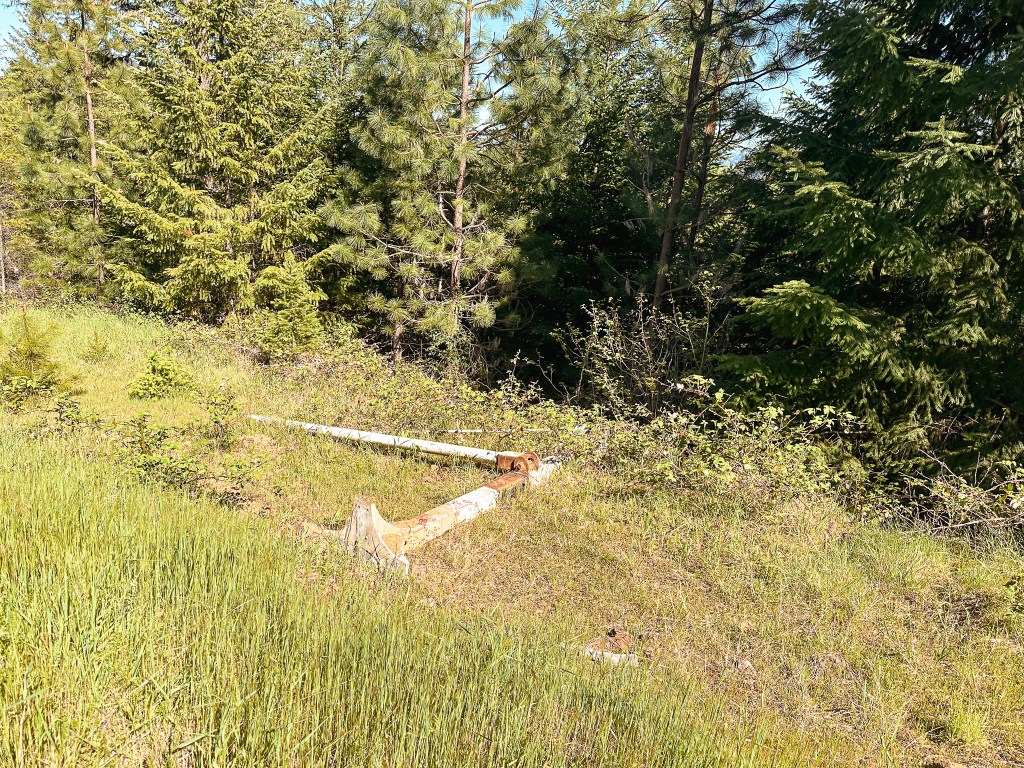
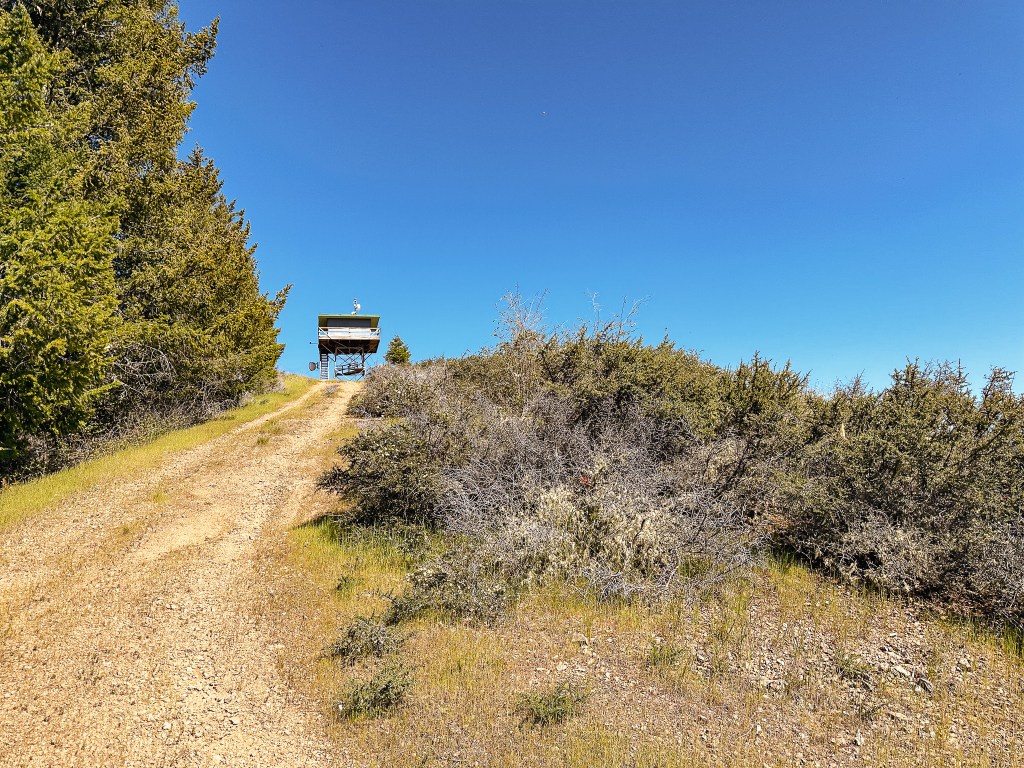
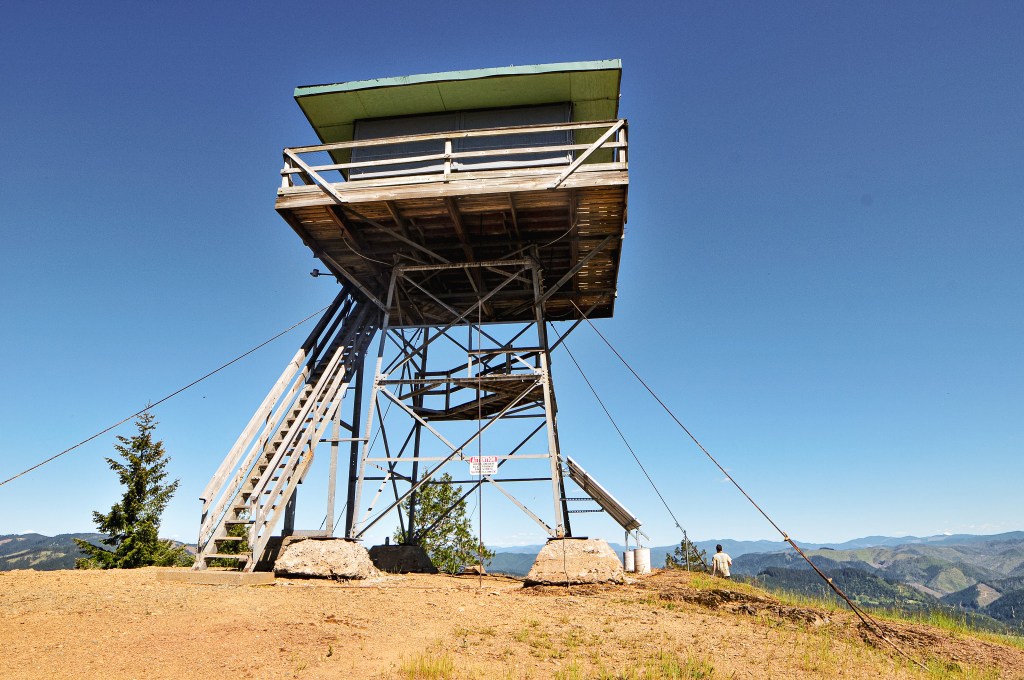
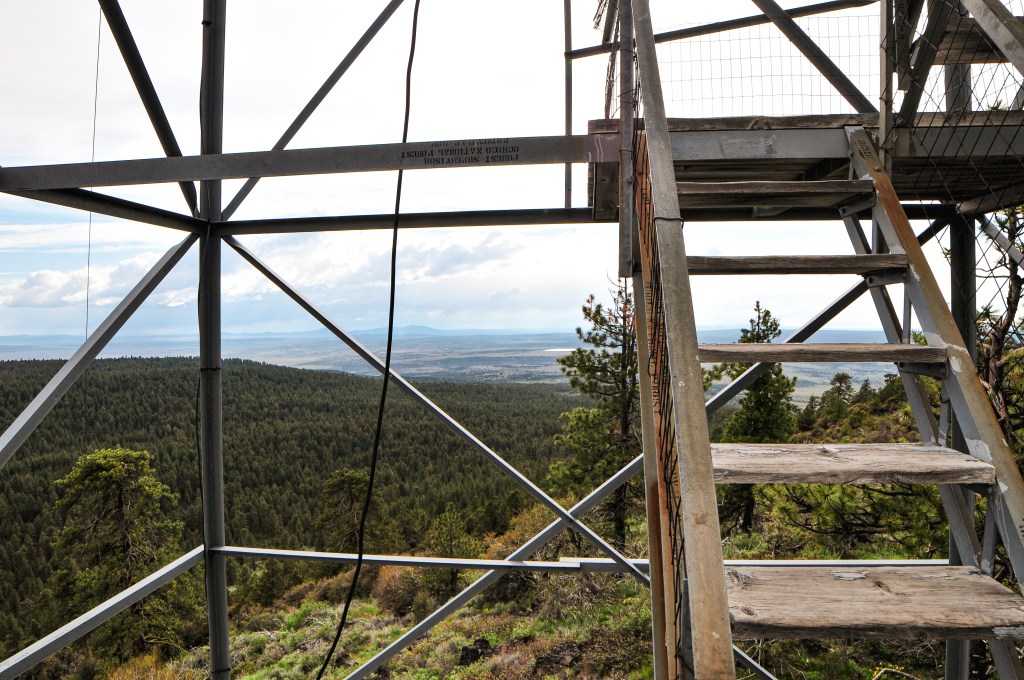
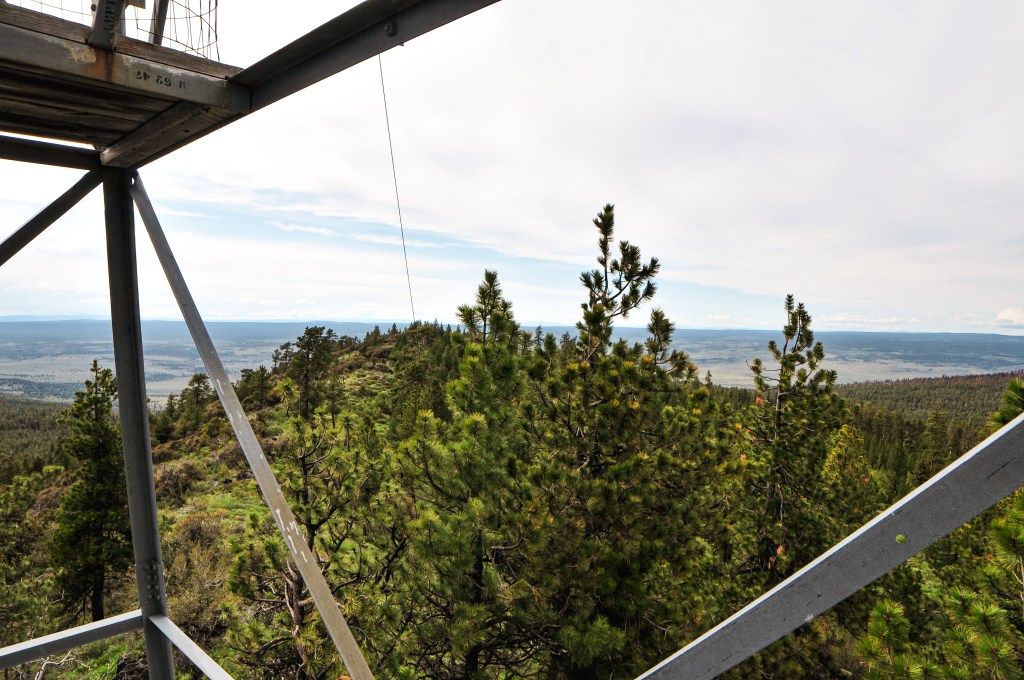
There wasn’t much to note about the road walk to the summit except that it was too hot and dry for early May. I feel like we’re gearing up for a terrible fire season this year *narrator: a terrible fire season indeed*. This entire spring has been lacking what Oregon is best known for, rain. There was a pretty display of California Poppies lining the road. I even found signs of an old gate that was probably used back when the fire lookout was staffed. The final spur to the fire lookout was off to the right while the main road continued straight. Despite being a short hike, I was struggling in the heat by the time I reached the base of the tower. I waved to the fairly new looking camera and headed for a spot in the shade of the tower. A new lock had been added to the trap door to keep visitors from accessing the catwalk and, more importantly, to keep them away from the fancy equipment. The view was pretty much the same from the base of the tower anyway. I found this lookout and summit to be accurately named. It does have a uniquely repurposed base to add interest though. We didn’t linger for too long since we still wanted to visit the lookout at the Tiller Ranger station and get settled at Pickett Butte for the night. All the roads getting here were good pavement or decent gravel and we had no issues in our Civic. The hike along the road came in at 1.75 miles RT with 472′ of elevation gain on the Strava App.
History.
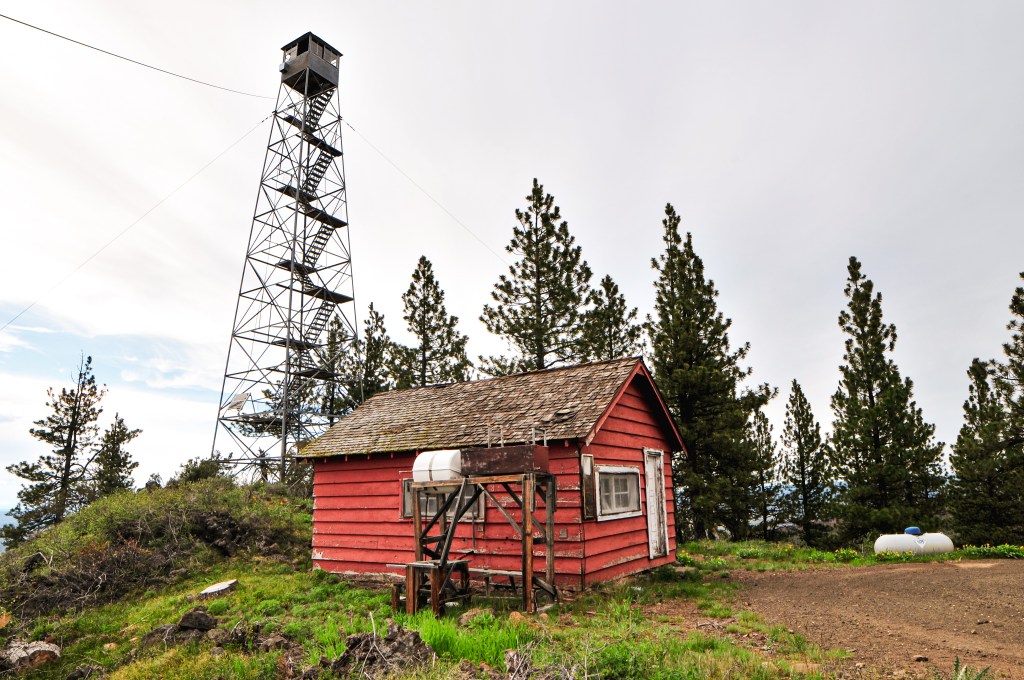
Bland Mountain was established as a fire detection site in 1942 with a tent camp. The first tower was built in 1947 as a 20′ treated timber tower with 14’x14′ cab. The NHLR notes it as being a 25′ tower. The base was replaced in 1996 by a 20′ tapered metal tower that was formerly used to support a water tank. It was actively staffed up until the late 2000s, but has since been abandoned. It’s most likely still listed for emergency status. A camera has been added to the cab for surveillance of the area.
2020 has been a very long and difficult fire season for a lot of people across western Oregon, especially those who live in communities affected by fire and smoke. We encourage everyone who has sustained damage or losses from these fires to take full advantage of programs offered by FEMA and other relief organizations
We realize some of your favorite and most beloved places may have been impacted by fire. As land managers tasked with caring for the land, we’re also hurting and sad as we learn the extent of the damage to our favorite place.
We are anxious to survey the damage and to inventory repair work. Many places, such as the Opal Creek area, are no yet accessible even for us, due to very serious safety concerns. These hazards include burned out trees with weakened roots, ash pits, falling rocks and erosion. Likely, these hazards will increase as the wet fall and winter weather arrives. Some of these areas may be closed for a long time. It might even seem excessive.
We simply don’t know how long it will take us to mitigate hazards allowing us to work safely. These closures are in place to protect the life and safety of visitors and also rescue crews and firefighters. We ask you to please respect our closures. Thank you for your patience and resilience as we collectively try to recover from these devastating fires.
There will be many months and even years of healing for those of us who manage the land, communities and for the forest itself which provides so much for all of us.
-Willamette National Forest Supervisor, October 6th 2020
Trip Report.
In 2020, the Beachie Creek Fire decimated around 193,556 acres in Oregon. It burned 486 homes and 36 non-residential buildings which greatly impacted the communities of Detroit, Gates, Mill City, and Mehama. This doesn’t include the damage done by the Riverside (138,054 acres) or Lionshead (204,469 acres) Fires that burned around those areas during the same time. Pechuck L.O. managed to escape any damage due to the efforts of our Wildland Fire Crews, but has been closed to the public the last few years. The area is still listed as closed when doing a basic search on the BLM website and AllTrails app despite recent trip reports stating it has been re-opened. With that information in mind, we decided to add it to our list to visit as soon as possible.
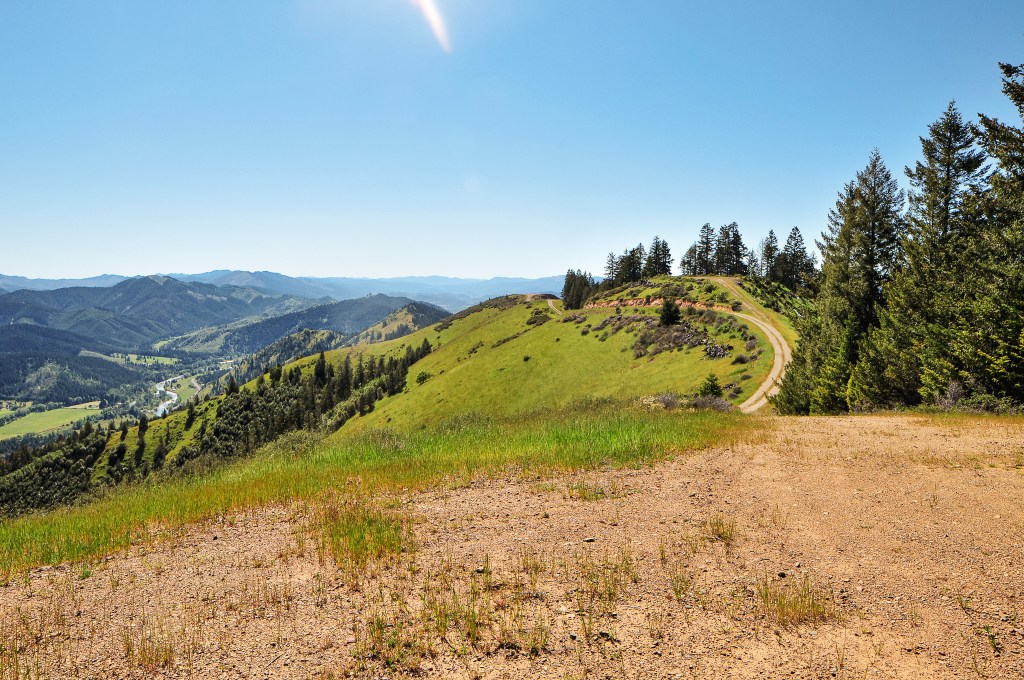
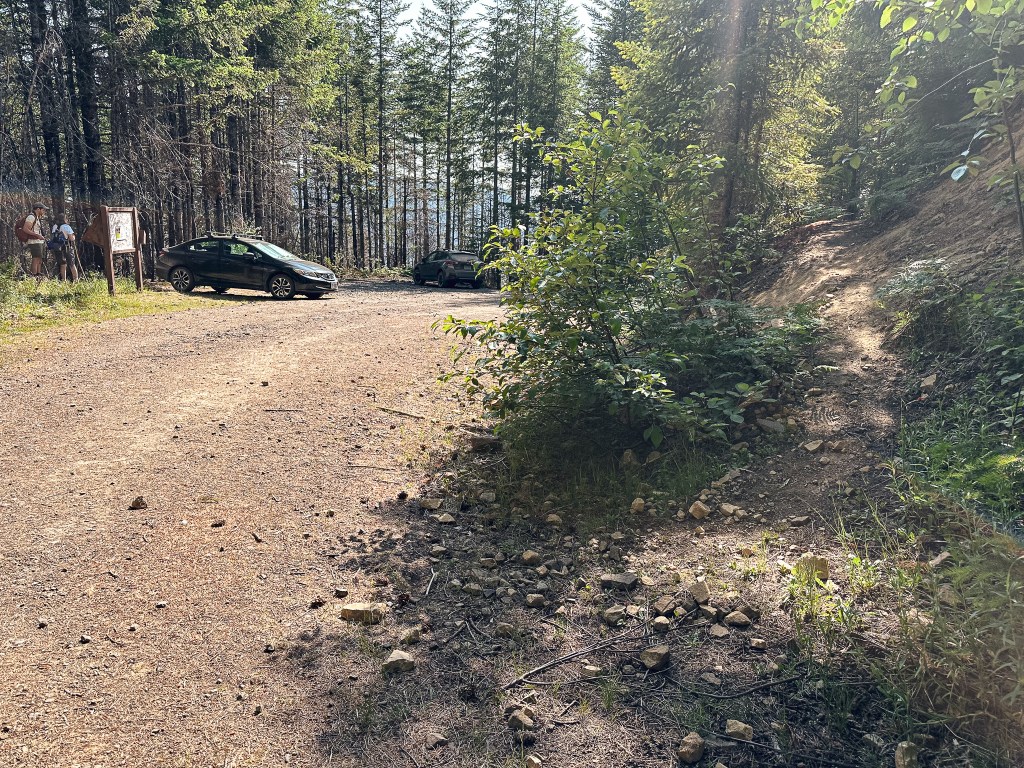
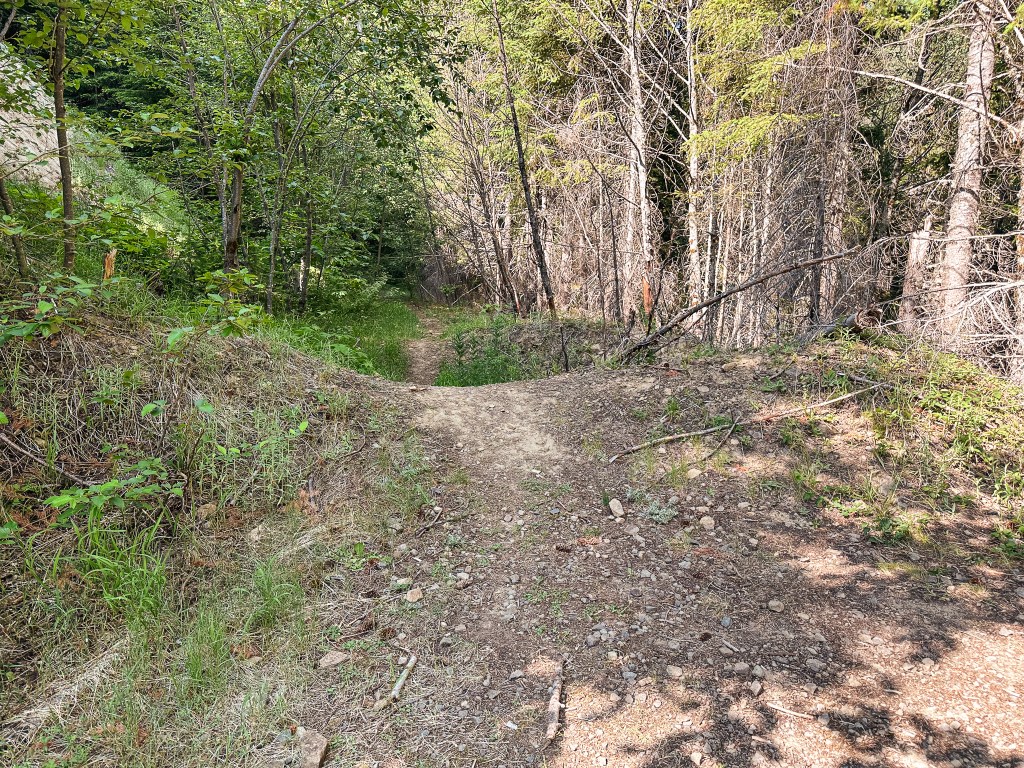
Garnet and I both had the day off on Tuesday in observance of the fourth of July holiday. Portland was predicting somewhere in the 90s for the high of the day. We decided this would be the perfect time to escape the heat in the mountains and finally check off Pechuck for a day hike. We invited Garnet’s mom to join us for the day and set off from SE Portland around 9:30AM. We briefly popped on I-205 to connect to HWY-213. We stayed on this highway through Mulino and Liberal, but turned left once we reached the junction with HWY-211 to head towards Molalla. From Molalla, we had planned to turn right onto Mathias Road. We didn’t account for the Main Street through downtown being closed off for a fourth of July parade. There were detour signs that took us around and dropped us on Mathias Road farther down than we needed. We back tracked to connect with S Feyrer Park Road. This road was unmarked and we initially missed the turn. It is more obvious coming from the other direction since Mathias Road curves into S Feyrer Park Road. We followed this until we passed Feyrer Park and crossed the bridge over the Molalla River to a T-junction. We turned right onto S Dickey Prairie Road and stayed on this road until we crossed another bridge over the North Fork of the Molalla River. Shortly after crossing the bridge you will want to take the first right onto another bridge to cross the Molalla River again. Most of these junctions are unmarked but it heads towards the Molalla River Recreation Area and then curves left to become S Molalla River Road. We stayed on this road for 13.6 miles. The road is paved the majority of the way. We crossed the Molalla River once again just shy of the 13 mile marker and the road became good gravel after that. Once we passed the 13-1/2 mile marker we turned left onto the first road heading up. This is allegedly the Upper Molalla River Road but is once again unsigned. Once you start heading up and away from the river you will come to a fork in the road. The left road will take you to the Table Rock Trailhead, but we stayed right to turn onto Rooster Rock Road. There was another fork after that where we stayed left to continue on Rooster Rock Road. Don’t expect to see any signage to indicate you’re on the correct road. Eventually, Rooster Rock Road will dead end at the Rooster Rock Trailhead. We arrived around 11:30AM and had the trailhead to ourselves. The roads getting here were mostly good gravel with only a few easy to navigate pot holes and rocky sections along the Rooster Rock Road.
Start of the trail
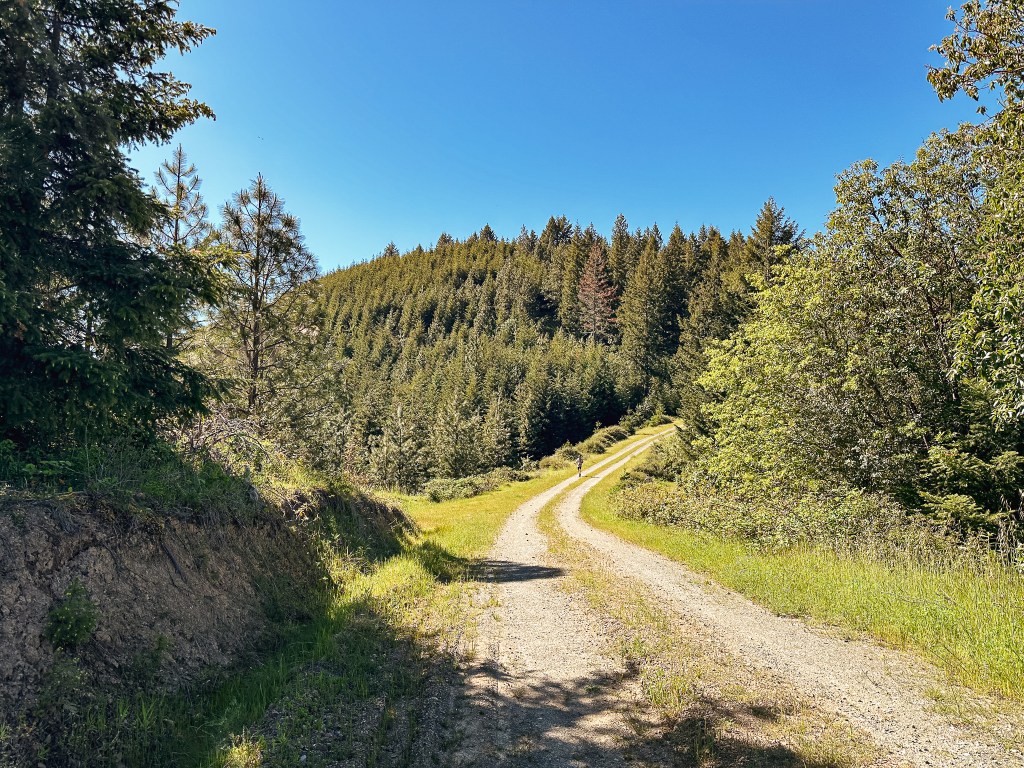
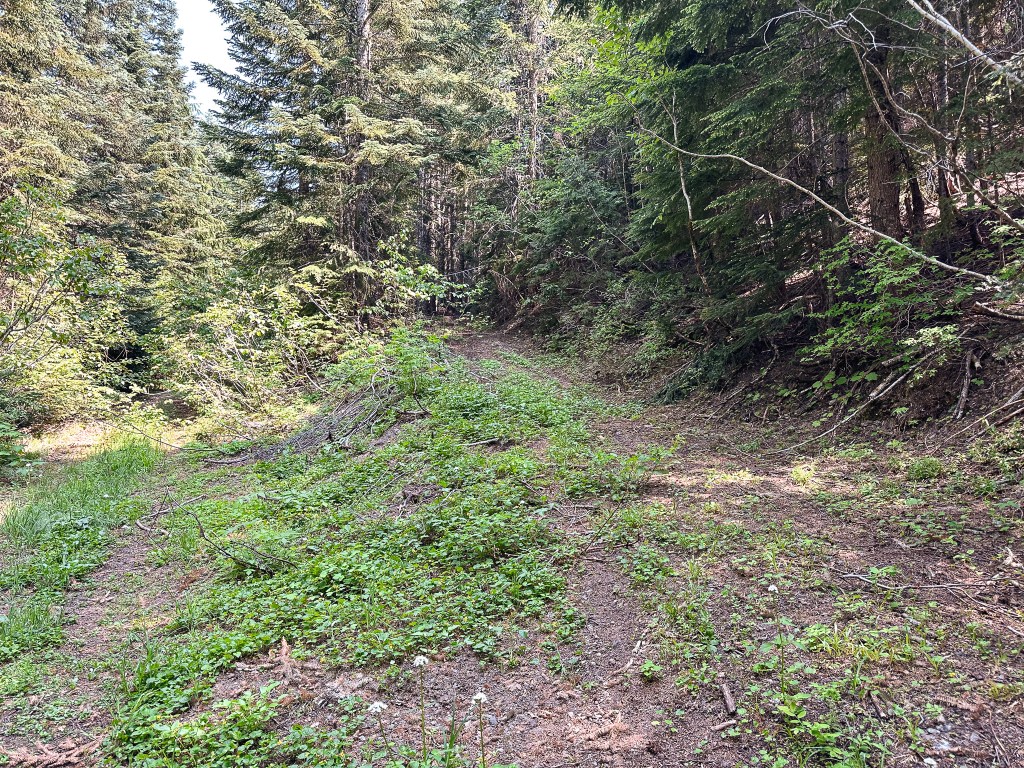
Old decommissioned road
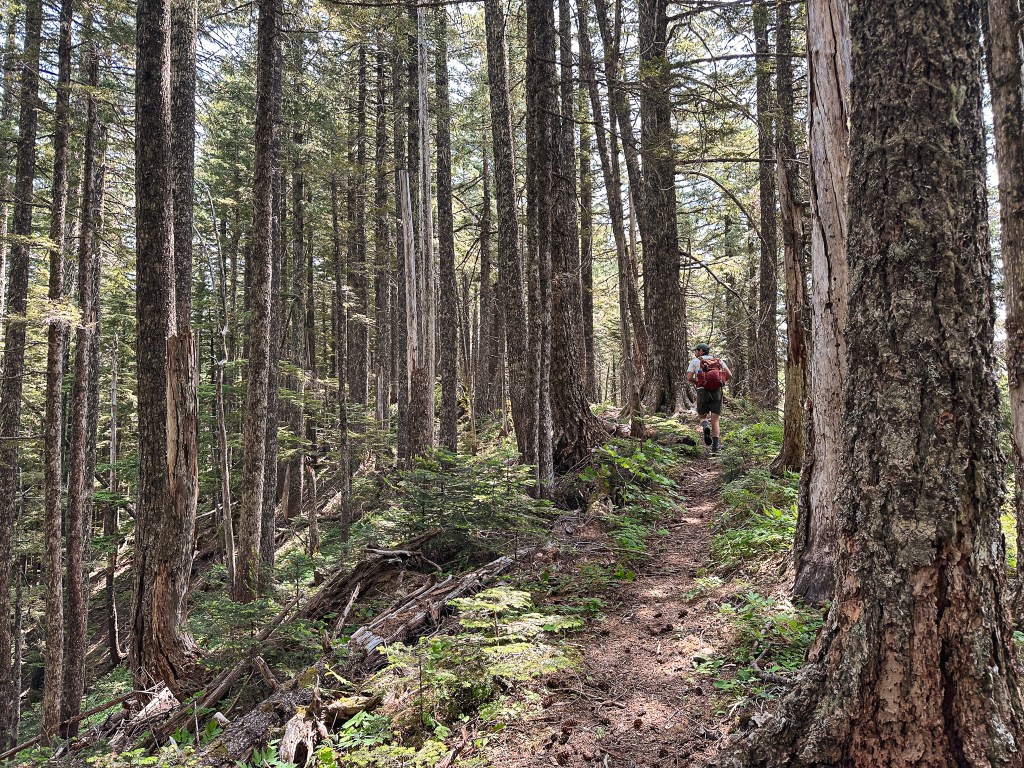
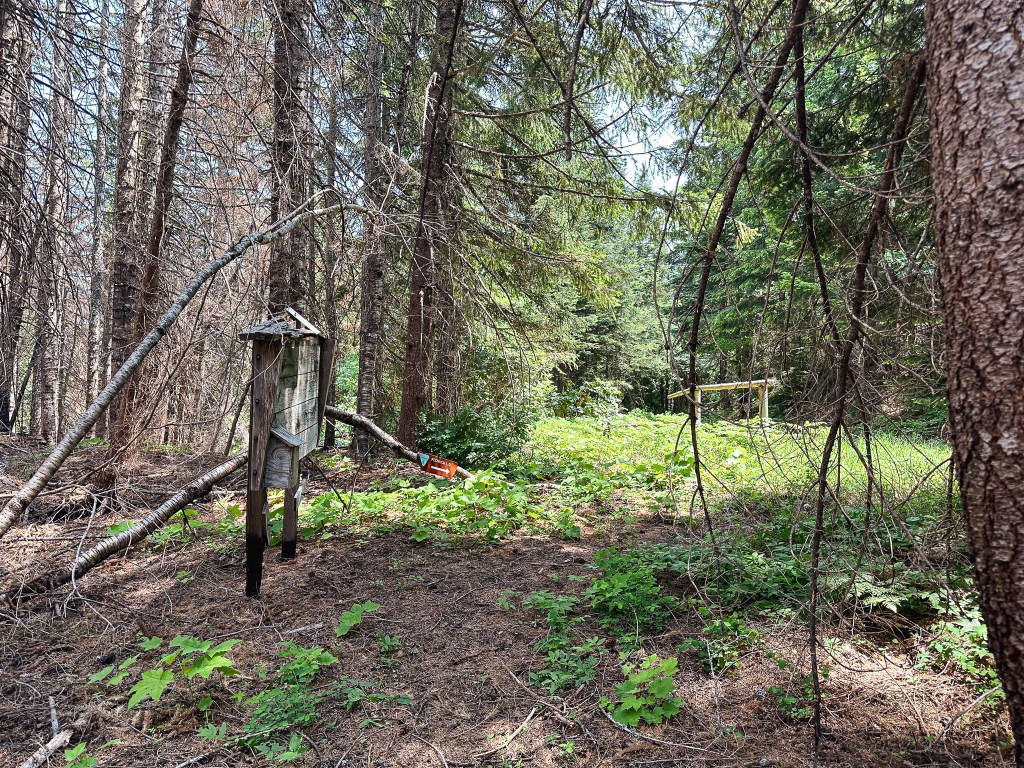
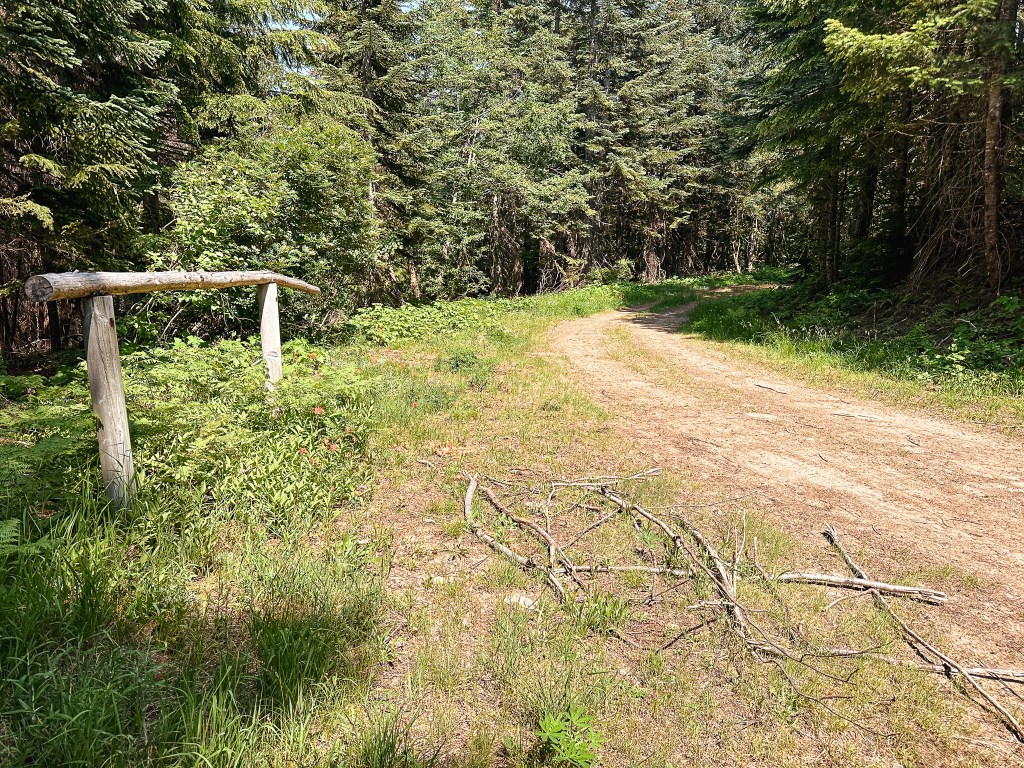
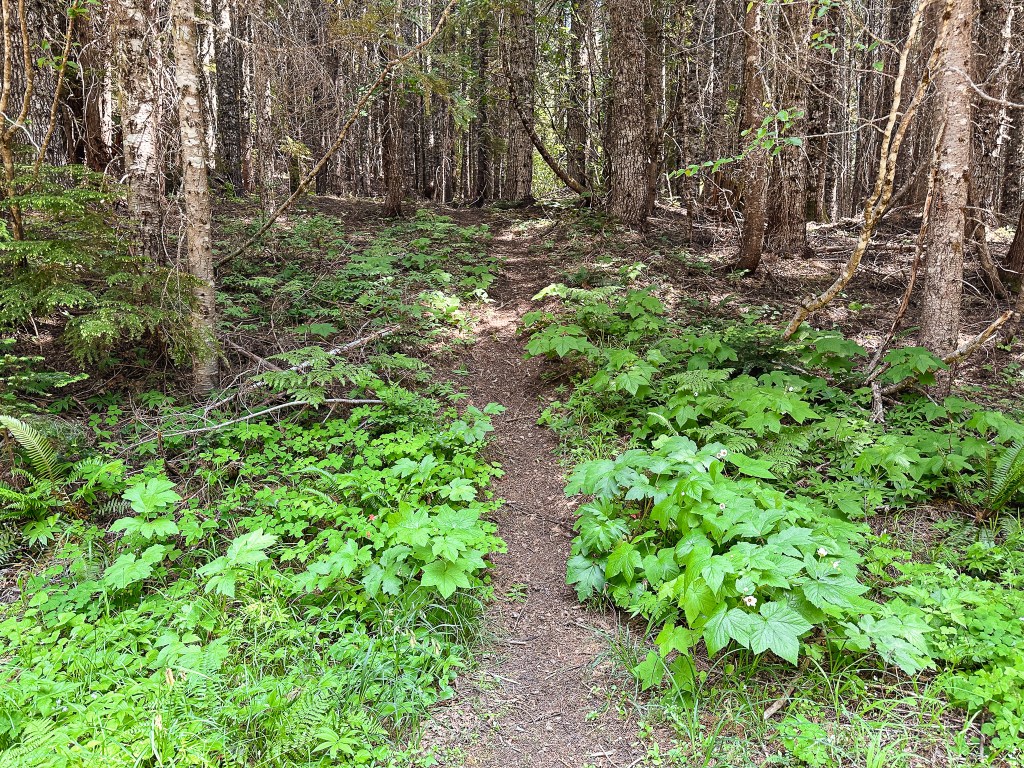
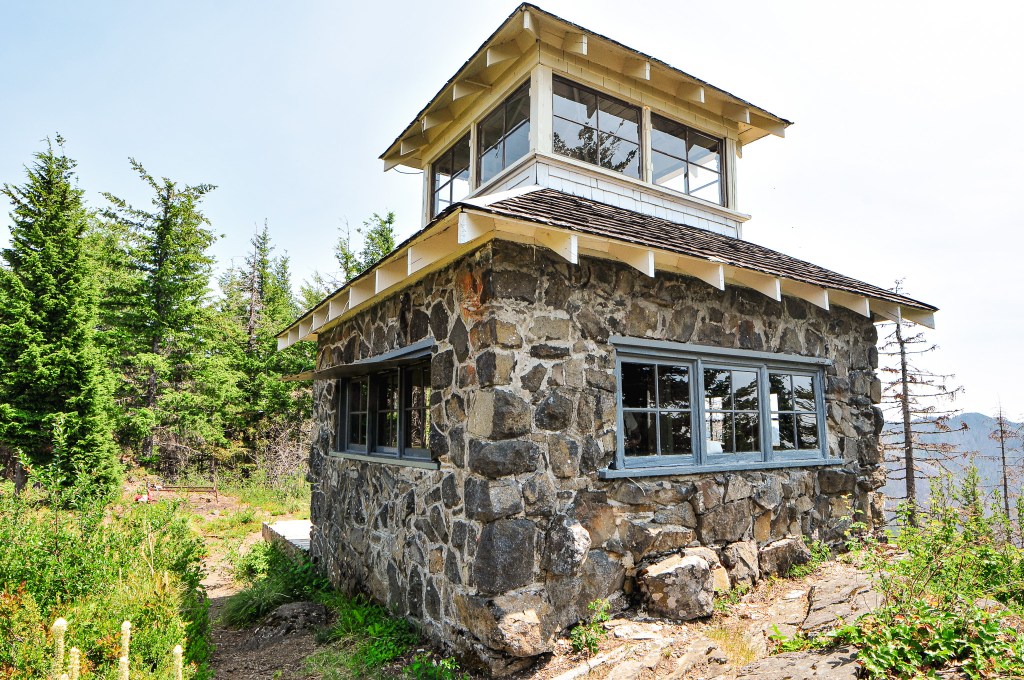
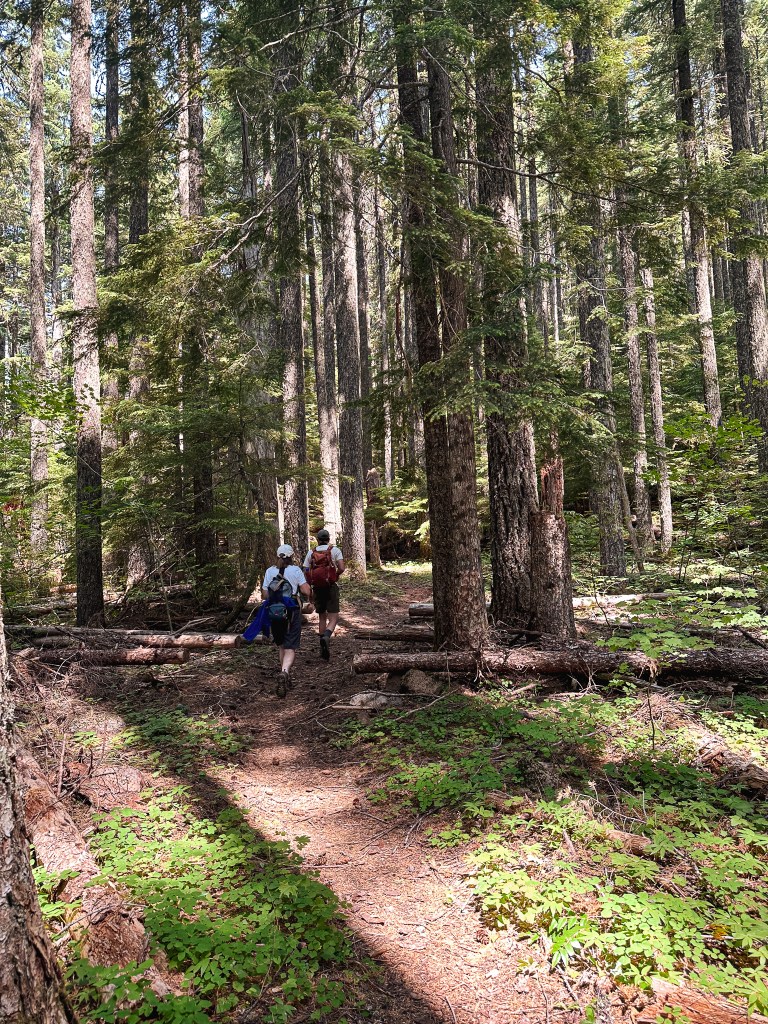
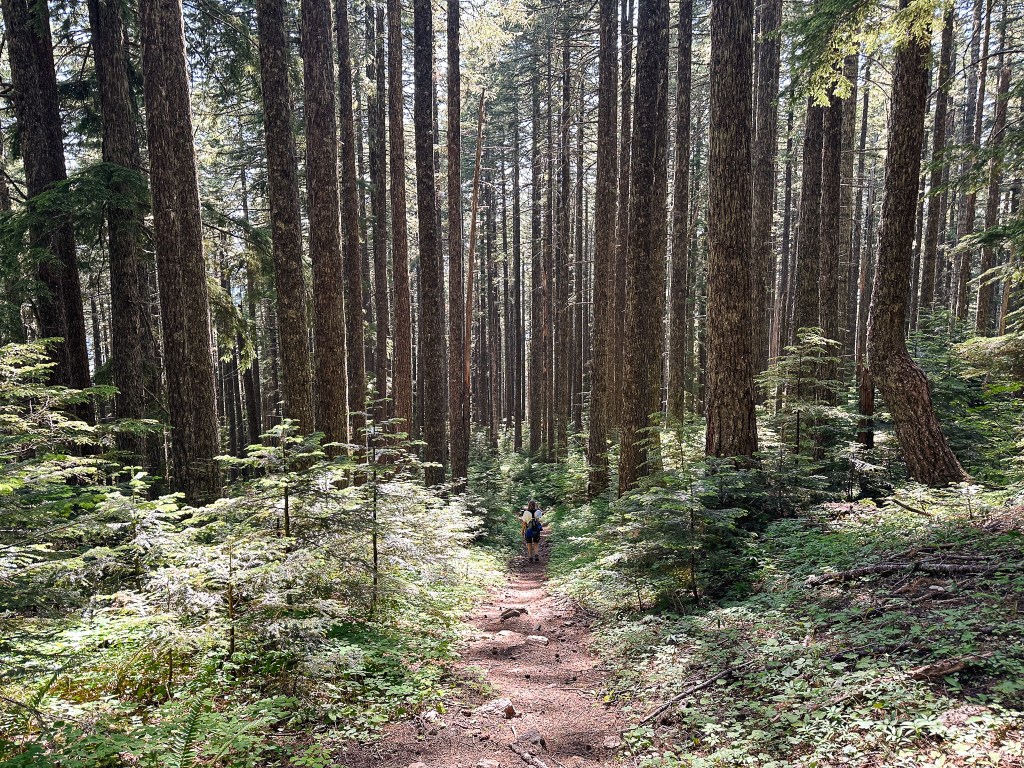
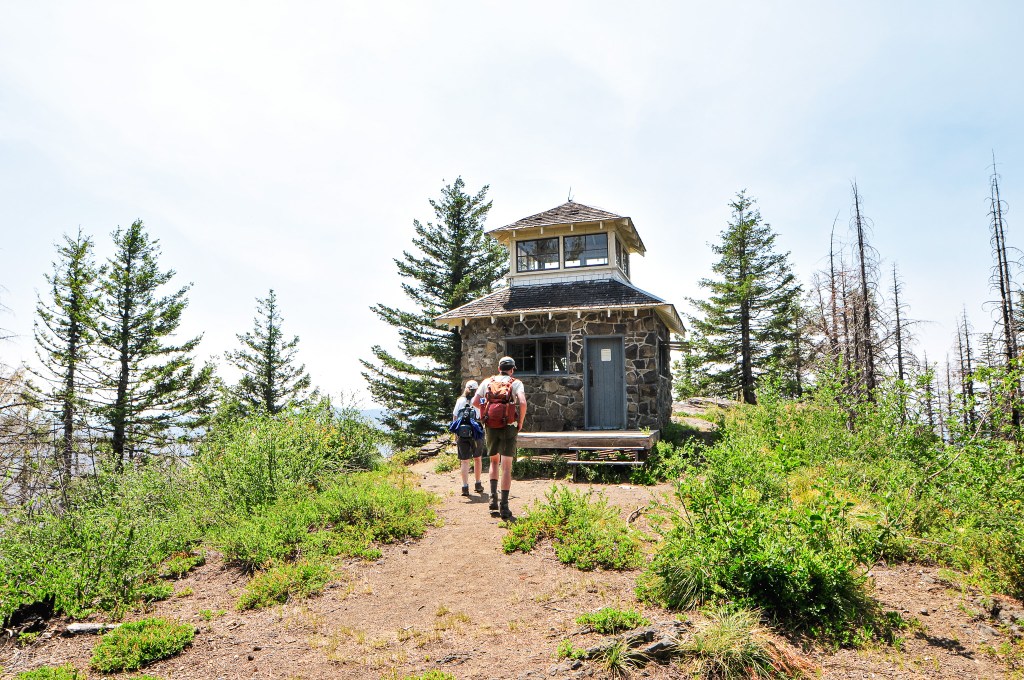
There are a few different routes you can take to get to Pechuck L.O., but we opted for the most common and shortest of options. I would classify Pechuck as a fairly popular hike on social media, so we were a bit surprised to see no one else here on a holiday. We passed plenty of people parked along the Molalla River on our way into the area too. We speculated that the online closure notice must have deterred a lot of people. We have also noticed people tend to celebrate the fourth in town or on the water. After setting up the car in the shade and packing our bags full of lunch, we headed up the trail directly across the road from the sign board. There is a more visible trail that continues on the decommissioned portion of the road, but this is not the route you want. The Rooster Rock trail climbs 1.1 miles up the ridge to meet up with the High Ridge trail. It varied between quick switch backs, steep uphill, and short flat sections to offer some reprieve from the elevation gain. There are no trail signs at the junction with the High Ridge trail, minus an R and arrow carved into a tree. The R points to the left which would take you to Rooster Rock, we turned right to head towards Pechuck. From the junction, it is 1.6 miles to the lookout. We followed a rolling ridge line that was my favorite portion of trail. Once we started to see signs of the burn from the Beachie Creek Fire the trail started to lose elevation. It flattened out before we reached a junction with the old road and Pechuck trailhead. This road is gated and no longer accessible. From here, you can either head up the trail that continues across the road or turn left to follow the road to the old lookout access road.
Looking left on the road from old trailhead
Were the trail continues across the road
Garnet had already continued on up the trail by the time his mom and I reached this junction. I remembered reading something about turning on a road but Garnet had the screenshot of the description. We decided to take the more obvious option and continued up the trail as well. This section of trail is where you will gain back all the elevation you lost as it quickly switchbacks up. Parts of it looked like it was beginning to erode due to damage from the fire and one particular section skirted along the edge of an old quarry that wasn’t super friendly to those afraid of heights. It flattens out again before the trail meets up with the old access road to finish the final climb. Once we saw the old access road, Garnet’s mom and I questioned whether it met up with the other road or not. We both agreed that we rather hike back that way if it does. We reached the composting toilet and knew we were almost there. You can just barely see the top of the lookout from it. The day was starting to heat up and I had already drank one of my 32oz bottles of water. We were overdue for lunch by the time we reached the lookout, but we were all determined to have it on the summit.
Composting toilet
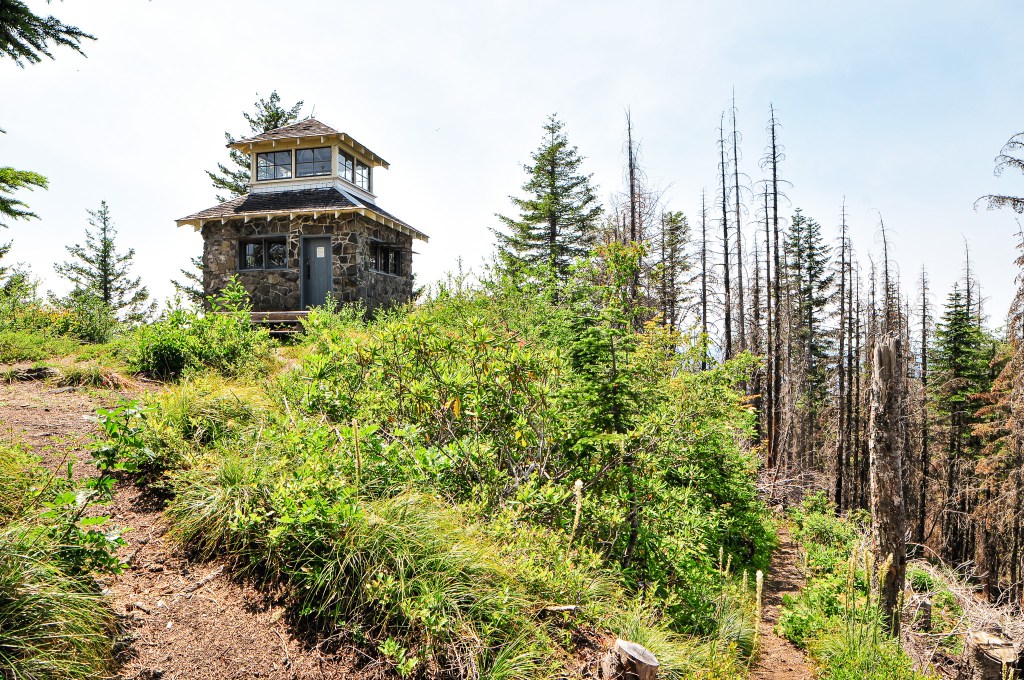
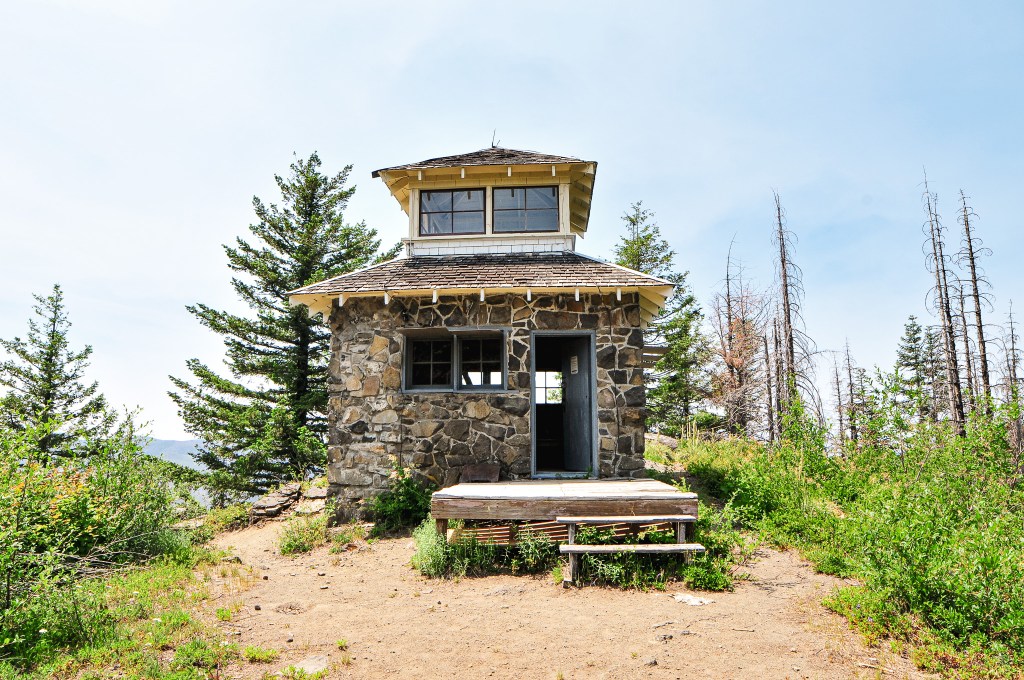
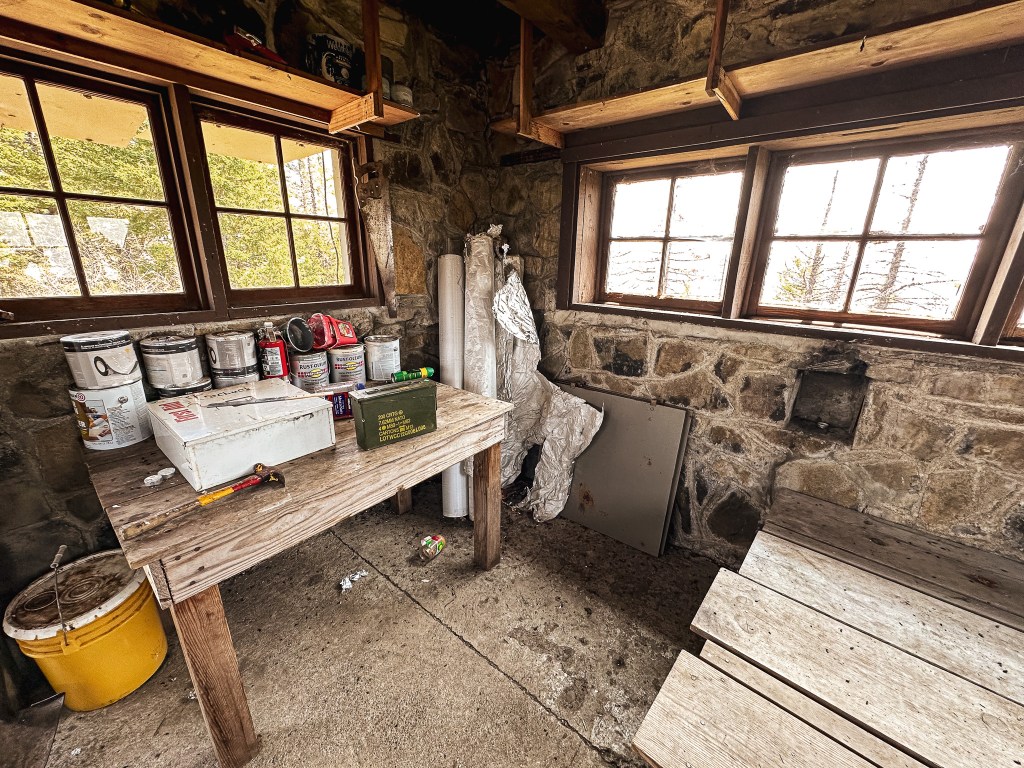
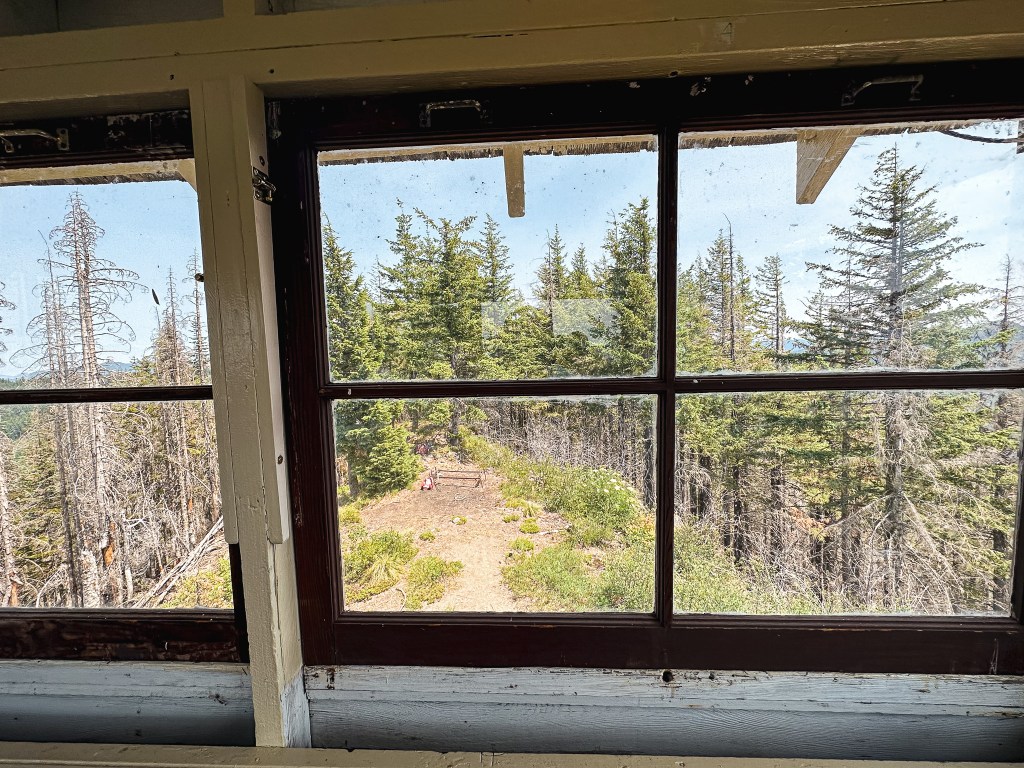
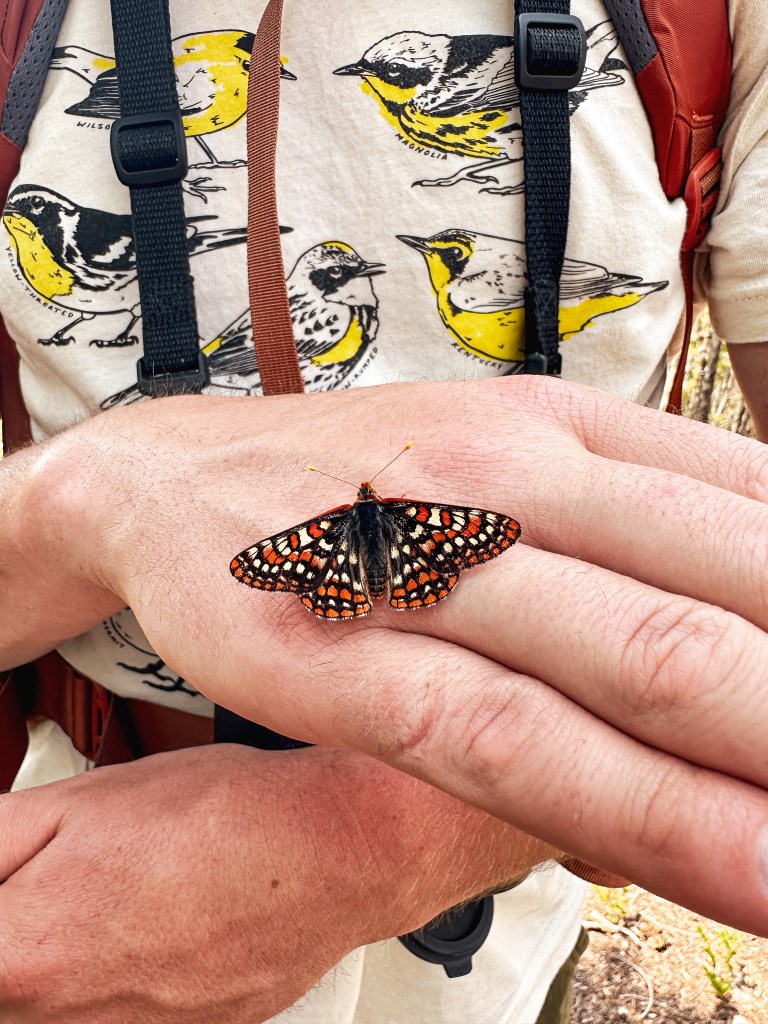
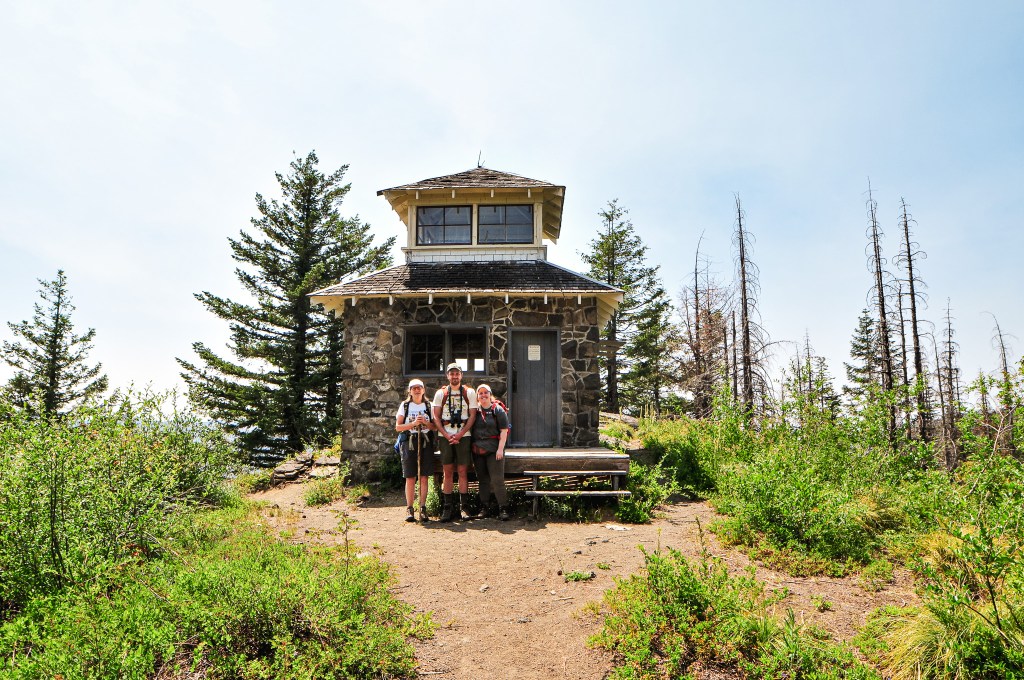
We decided to take some pictures around the lookout and in the cupola while Garnet’s mom headed off to find a good lunch spot in the shade. The lookout is in decent condition, but does have a smell to it from its rodent inhabitants over winter. The ladder to climb up to the cupola was a bit ricketier than I’d like but I was still able to manage. Personally, I’m not sure if I’d want to spend the night here with all the signs of rats unless it was an emergency. There was wide spread haze in Oregon obstructing the view from the cupola. I assumed this is mostly from the wildfires in Canada, but could also be from the newly formed Tunnel Five Fire in Washington. Though the site doesn’t offer much of an expansive view beyond the immediate ridge lines even on a clear day. Oregon has somehow escaped the wildfires so far this season, but I have a feeling this will be short lived as the heat advisory continues. I signed the log book in the geocache and headed for the shade. We all felt reenergized for the hike back after our lunch. While I was packing up, I noticed a butterfly sucking up the salt from my sweat that had made it on to my pack. I tried to remove it a couple times, but it kept flying back to my pack. Eventually, I had to coax it onto my finger so I could finish packing up without accidentally squishing it. The butterfly was unbothered and I encouraged it on to Garnet’s hand instead. It was really enjoying the salt we had to offer. It probably would have made the entire hike back with us if we let it.
As we started our hike back, we came to the junction where the trail forks from the old lookout access road. Garnet was unsure of going down the road since we didn’t know for sure if it met up with the road we needed. There was a rudimentary map on the back of the door in the lookout that showed this as a trail heading down to a spring. But, more importantly it also showed it meeting up with the road we needed. Garnet didn’t want to make the call incase the map was wrong, but I was confident and started to head down the road. There was a bit of blow down along the access road but nothing unmanageable. Sure enough the road made a sharp left turn before spitting us out on the road. We followed it past the quarry where the trail hikes above and continued until we were back at the old trailhead. This felt like a much easier route in my opinion as long as you know where you’re headed. From the trailhead, the hike back followed the same route as before. Make sure to keep an eye out for the unmarked junction back to the Rooster Rock trailhead, it is less visible from the High Ridge trail and could be easily missed. Especially, if you spend a lot of your hike staring at your boots like me.
Old lookout access road heads up to the right
Old Pechuck trailhead
Junction with Rooster Rock trail from High Ridge trail
My Strava app calculated our total hike at 5.62 miles with 1,529′ of elevation gain. We didn’t see anyone else on trail all day. We did however come back to another car parked at the trailhead. Garnet had made it back to the car first and had seen the people. He said they got out of their car and despite seeing him hiking down the actual trail headed off down the decommissioned road. As we were packing things into our car, they came back. Garnet’s mom asked if they were looking for the trail and pointed them towards the actual trail, but they said they were only looking for service on their phone. They stood at the base of the trail for a while and eventually started hiking up. We all agreed it seemed a bit late in the day to be starting this hike, especially since they only had a small hydration pack between the two of them. The days might be longer right now, but it is always good to be over prepared and plan for extra time when venturing out.
Mosaic burn pattern from the Beachie Creek Fire
History.
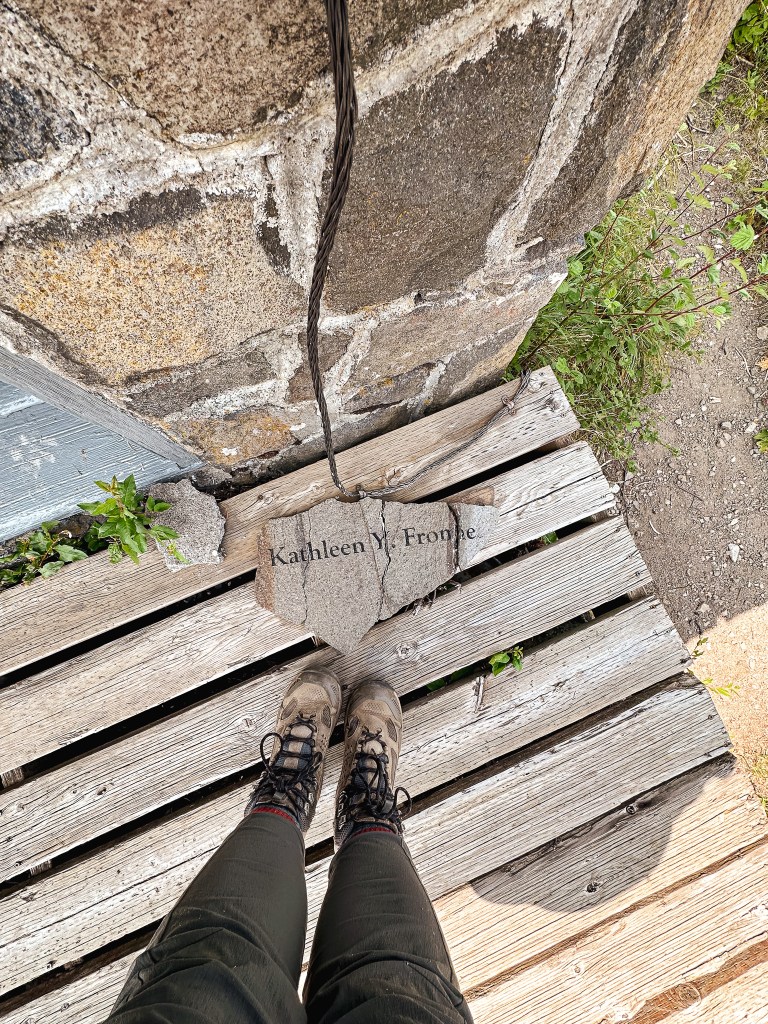
Pechuck was first defined as a fire detection site in 1918 when a fire finder was mounted to an open stand. The only access to this site at the time was from the Table Rock Trail through the Table Rock Wilderness. The existing structure was built in 1932 as a unique cupola style cabin. It was built primarily out of native stone from resources nearby with some wood frame details. The contractor that completed this lookout was John Oblack from Molalla with the assistance of an unnamed Portland stone mason. It was actively staffed until 1964 and completely abandoned in 1965. The building was restored and opened to public use in 1995 by Pete Bond and a group of volunteers. Pete Bond was a Trails Coordinator of the Oregon Department of State Parks in Salem. Thanks to his work the lookout is open to overnight stays on a first come, first serve basis. It was also one of the first couple of lookouts added to the NHLR.
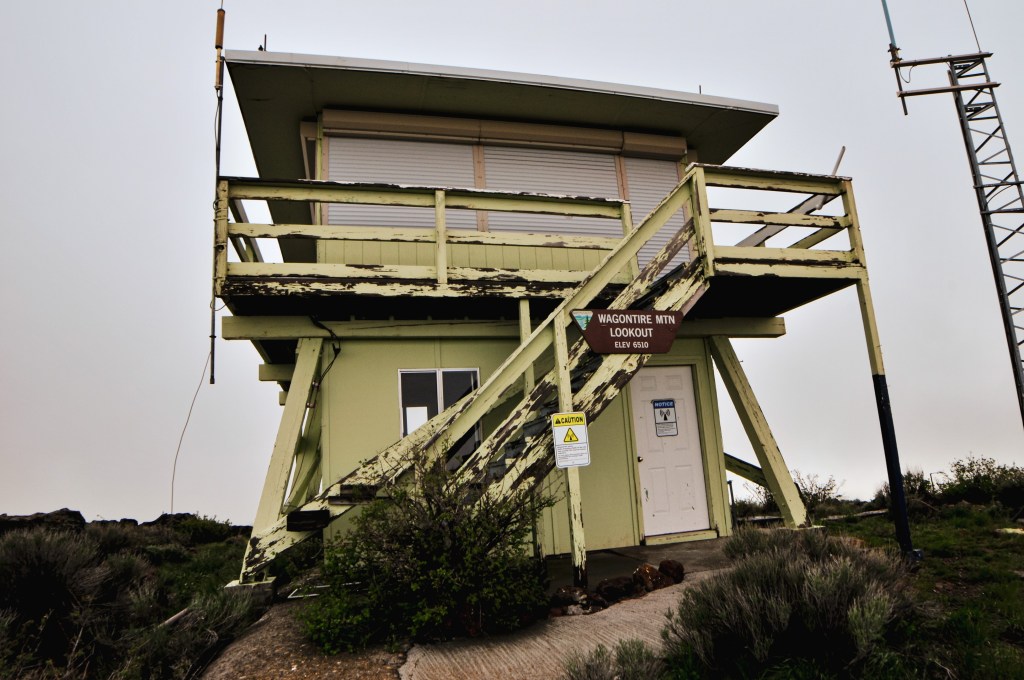
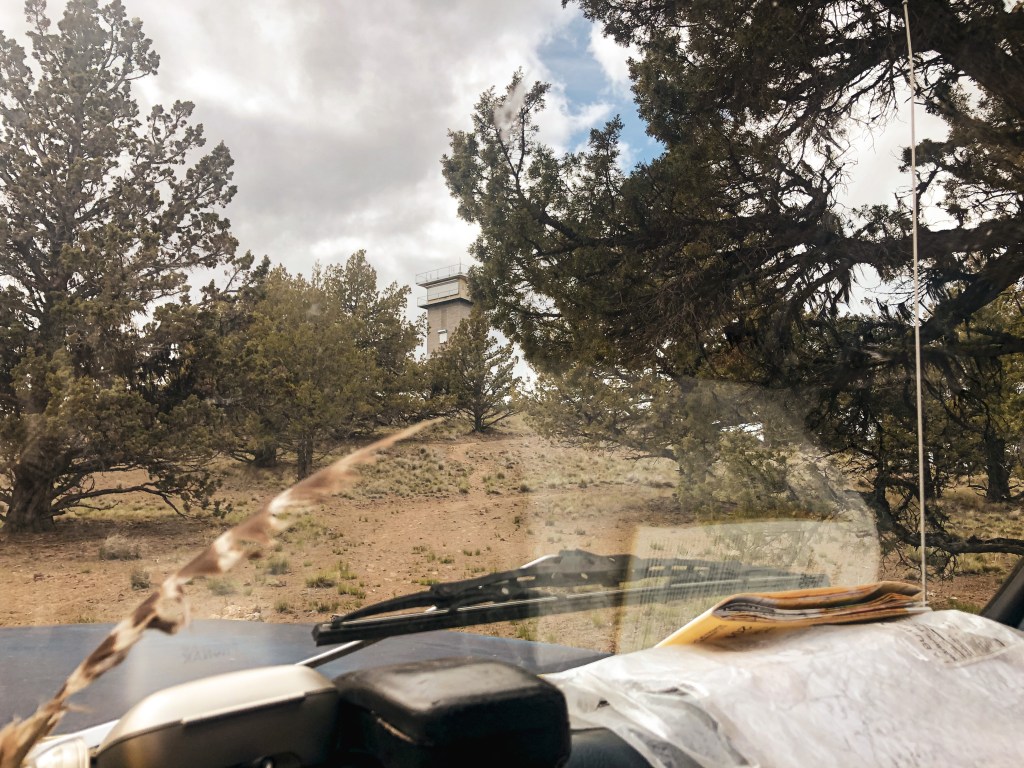
We tried to wake up early Saturday morning to give us as much time as possible to visit Wagontire Mountain, fondly referred to as Wagon-TEER by my partner. It was an unfortunately damp morning and looked like it would be a rainy day ahead. From Hines to the community of Wagontire is about 50 miles of highway driving that doesn’t include our drive out of the forest, the 5 miles of gravel to the gate, or the 6 miles of hiking we’d need to do round trip. We headed out of camp back towards Hines and out on HWY-20 towards Riley. From Riley, we turned on to HWY-395 to the community of Wagontire. We weren’t able to see the lookout from the highway since it was deep within a rain cloud. The road you will take to get to the lookout is unmarked. It will be the first right turn after mile post 29D outside of the community of Wagontire. None of the roads leading to the lookout in this area are marked at all and could be confusing without the proper directions. I had done some prior research and found detailed directions from an Ascent Trip Report by Paul McClellan on PeakBagger. It’s helpful to zero your odometer and follow his below directions.
0.0 cross a cattle guard
0.4 continue straight, right at the junction
1.5 continue straight, right at the junction
3.2 cross a dry creek bed. I’d barely consider this a creek bed and given that it was dry even during a wet spring makes me think it only flows when the snow melts.
4.0 cross a cattle guard
5.2 cross a cattle guard
5.6 bear right at the junction, you should see the gate shortly after
5.8 arrive at gate and park
It seems in previous years the gate leading to the lookout has been locked, but it was open on our trip. The road just past the gate is overgrown and full of large rocks that I wouldn’t want to attempt even on a good day. We parked to start our 3-mile hike to the summit. The roads getting to the gate alternate between dirt and rock. The dirt sections were a bit slick after all the rain and the rocky sections would pose a threat to a lower clearance. I was once again thankful for the extra clearance provided by the HR-V and speculated if my Civic could handle this road too. I think if one was to attempt this in a lower clearance vehicle they would need to do this on a dry day with a lot of confidence.
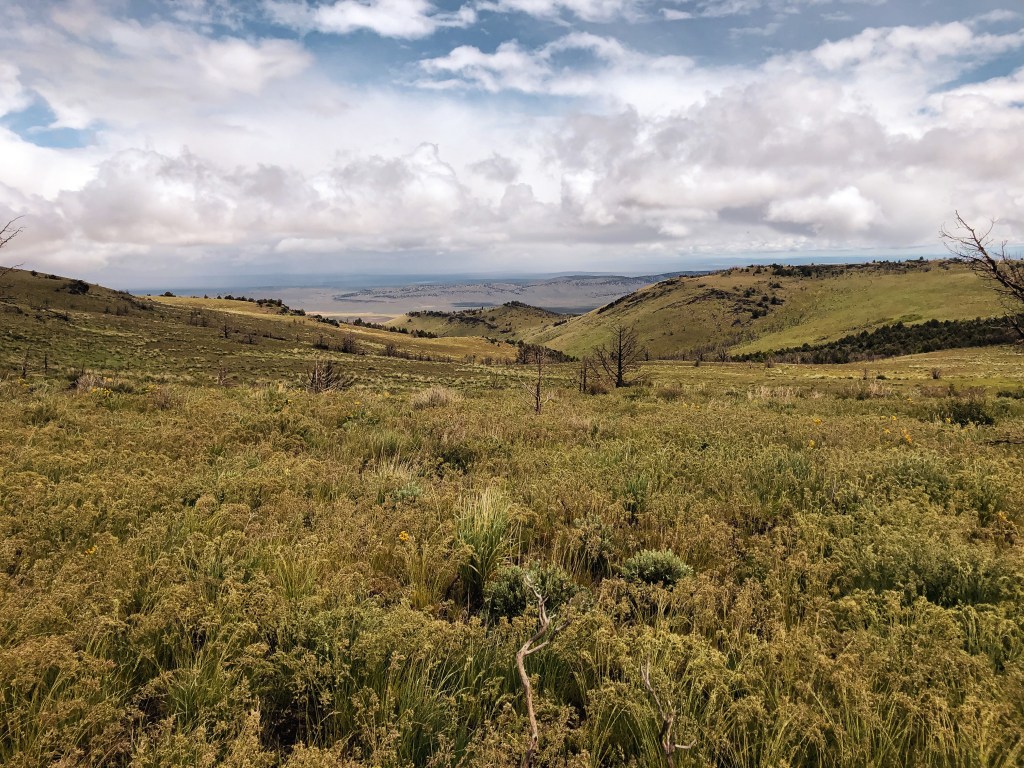
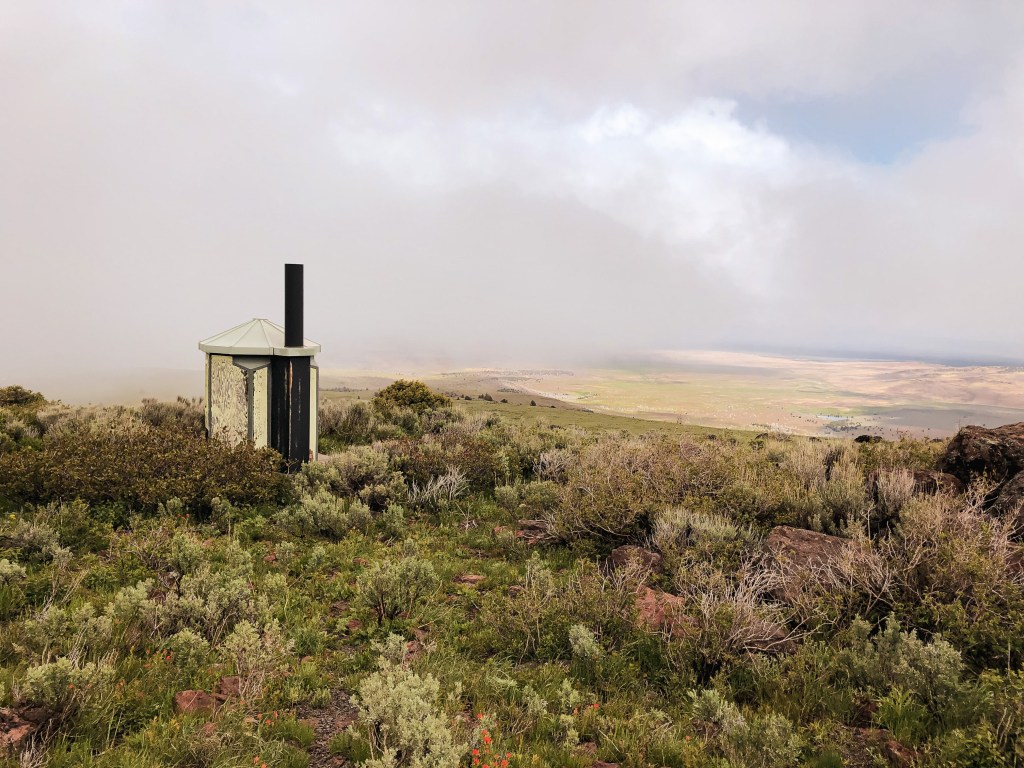
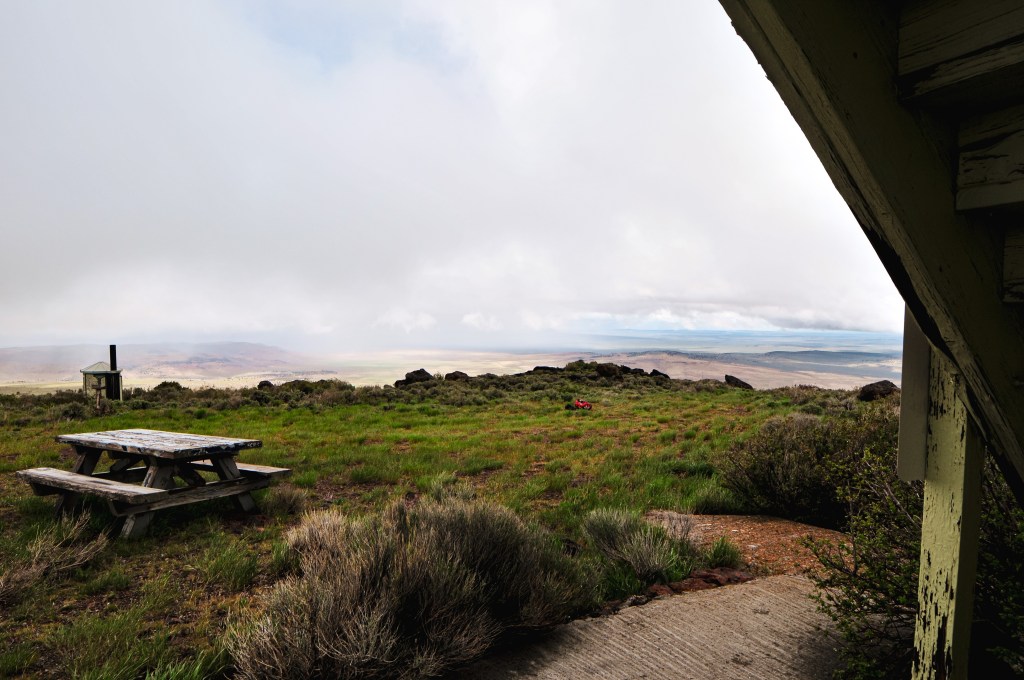
The hike up follows the road but was pleasant and it didn’t feel like much of a road walk at all. You will start up a hill that has signs of a more recent fire, possibly the Cinder Butte Fire in 2017. The rolling hills were covered in meadows with all sorts of different wildflowers. The weather even started to break for us and opened up to some views to the valleys below. Once on top of the hill you will follow a flat ridge for a while before heading up to the final high point. Similar to most lookouts, you will not be able to see Wagontire Mountain L.O. until you are almost there. This lookout is relatively new in comparison to most and was in great condition besides needing a fresh coat of paint. We enjoyed some snacks on the summit while the weather alternated between clear and cloudy. We would’ve stayed longer but we knew we still had a 3-mile hike back to the car and longer drive back to camp. It didn’t really start raining on us until we started to hike down. It was such a pretty road walk that I didn’t really mind the rain. It was crisp and refreshing, a literal breath of fresh air. I thought about how miserable those biking the Skull 120/60/30 must have been that day.
History.
The existing lookout structure on the summit is a 2-story BLM style cab that was built in 1967. This is the first and only lookout that was built here. The name Wagontire comes from an immigrant wagon that was burned by indigenous people in the mid-1800s. Only one wheel was left behind and it remained on the slop until 1925.
Ochoco National Forest; Managed by Malheur National Forest
Status.
Emergency; Currently standing
Estimated drive time from Portland, OR.
6-1/2 hours
Date visited.
June 17, 2022
Elevation.
6,281′
National Historic Lookout Register.
US 426; OR 51
Trip Report.
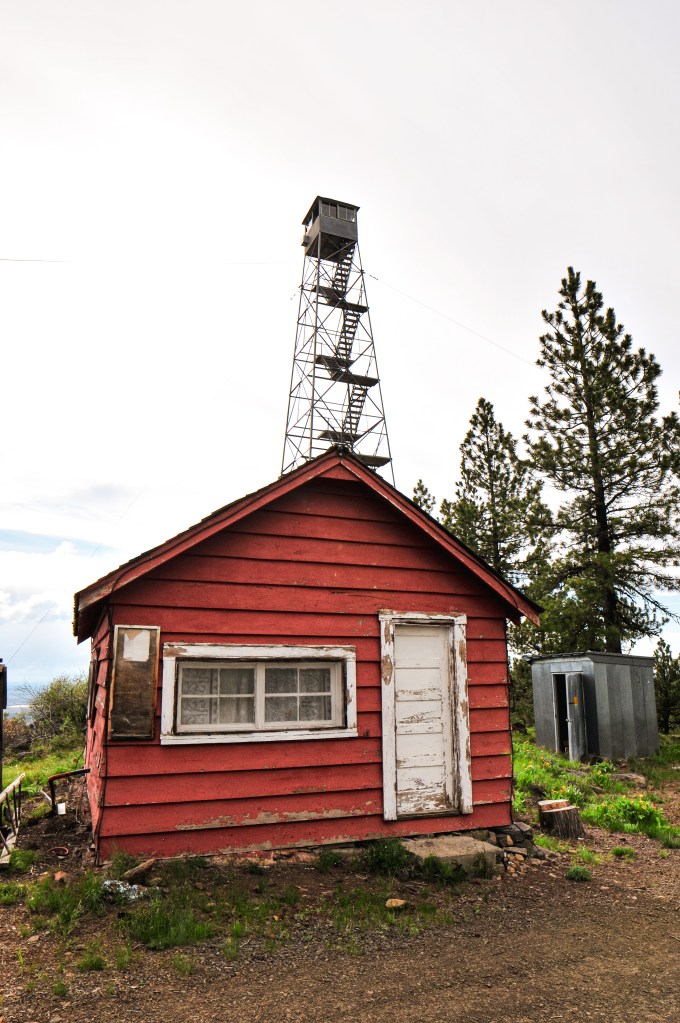
After visiting Bald Butte L.O. (post), we headed farther west along NF-41 until we reached NF-4120 off to the left. This road will take you all the way to the summit of Dry Mountain. There are a couple of junctions along this road that could be mistaken for the route if you’re not careful but it is all signed and should be easy to follow if you’re paying attention. From the Junction of NF-41 and NF-4120 it is 12 miles of gravel to reach the fire lookout. The first 8 miles of gravel are well maintained and passable to any vehicle. It’s a really pretty drive through a canyon and ponderosa forest. The last 4 miles are a bit rough and rocky that could potentially be hazardous to low clearance vehicles. I was thankful for the additional clearance on the HR-V during this section and it had no issues driving all the way. My partner and I speculated whether we would be able to drive this section in my Civic. I don’t think I would’ve enjoyed it but I think we could have made it with a lot of caution, getting out to move rocks, riding high lines, and slow driving. It’s definitely a road for the heartier 2WD adventurers.
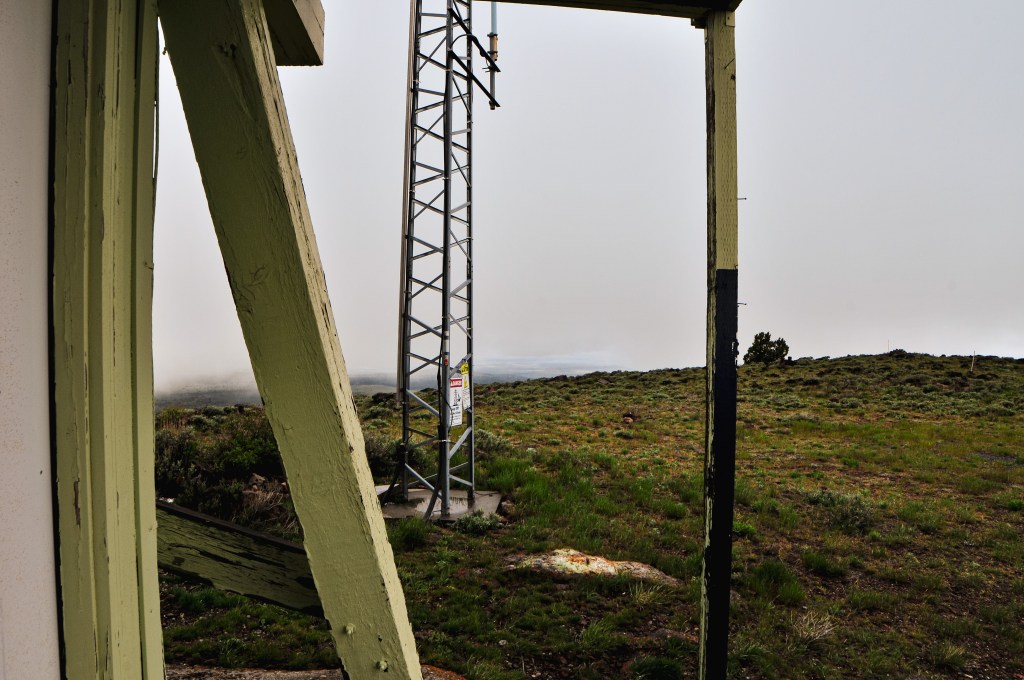
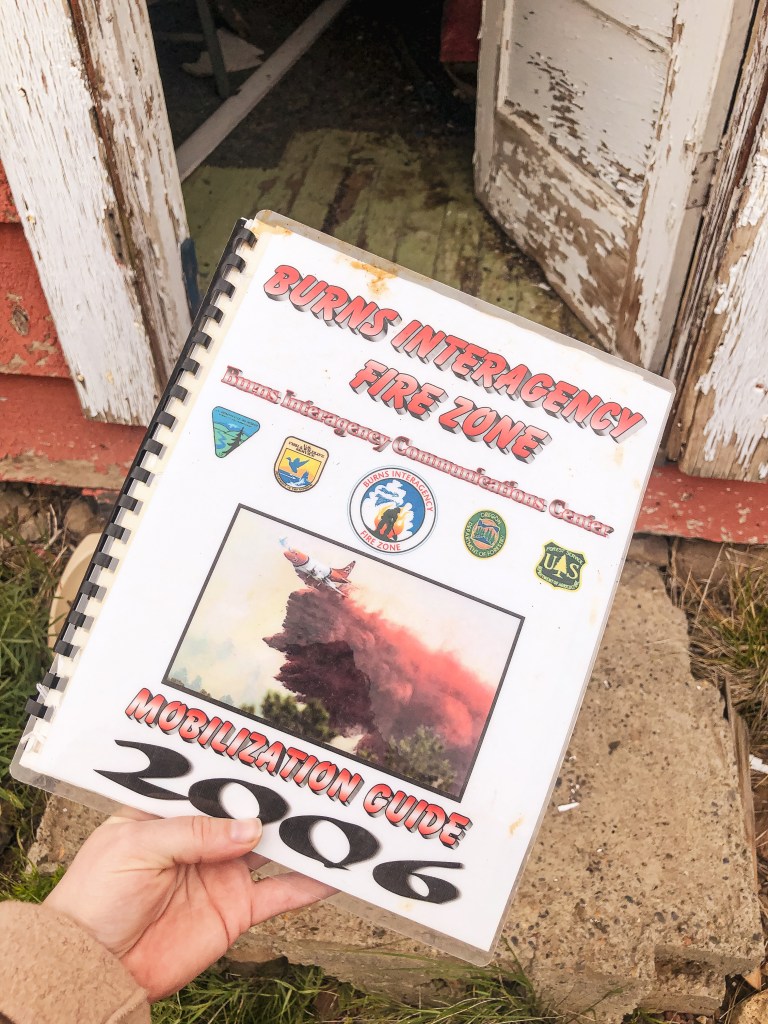
On the summit, there is a cabin and Aermotor tower with a couple of communication buildings. The cabin is completely wood rat infested and I was only able to comfortably look inside from the frame of the un-locked door. My partner climbed all the way to the top of the Aermotor where he found a 2006 Burns Interagency Fire Zone Mobilization Guide and an old log book that the lookout attendants used. His mom and I only felt the need to climb part way up the tower to a few of the landings. You are basically on the edge of the forest and there is a lovely view into the valleys below. For some reason, there were a bunch of mosquitos in this area. It would be the only time we ran into them this trip but we all walked away with a few bites. They were so distracting that we even forgot to take our group picture with the lookout. My partner and I realized this after bumping down the road a ways but it was a bit too far to justify turning around. We were both pretty bummed even though it’s mostly for posterity.
After leaving Dry Mountain, we were able to find a nice camp with a view of Bald Butte (post) and even enjoyed a camp fire. It wasn’t until we were getting ready to go to bed that it started raining on us. Yes, that’s right, more rain. Thunderstorms rolled in later that night and struck within less than a mile of our camp twice. My intrusive thoughts kept me up for most of the night after that. I ran through what I knew about thunderstorms and why or why not I would be its next target. Is being in a tent safe with metal poles? Does my air mattress act as a buffer since I’m not touching the ground? Is it more likely to hit the lightning rod on Bald Butte, the car, or the tree next to us? Is it better to be curled up or lay flat? Does moving around help or hinder? Does it matter if we’re on the highest point or not? Of course, the storm passed quickly and we were all fine, but it made me think about safety tips. There seems to be more thunderstorms on our recent trips and I’m sure there will continue to be more in the future as weather reaches more extremes and climates change.
Lightning Safety Outdoors
The flash-to-bang method is the quickest way to calculate how close you are to a storm. It is calculated by how many seconds pass between the flash of lightning to the sound of thunder. You will then need to divide by 5 to estimate the distance it is in miles. I used to only count the seconds as the distance in miles which means some thunderstorms have been closer than I initially thought. If the time between lightning and thunder is less than 30 seconds, it is close enough to be dangerous.
Minimize contact with the ground. Lightning is typically looking for the easiest path of least resistance to the ground. The best position to be in is crouched in a ball-like position with your head tucked and hands over your ears, avoid laying flat.
Avoid elevated areas. If you’re on a peak or high point, attempt to reach lower ground and avoid sheltering under isolated trees. Lightning will most likely strike the tallest object.
Avoid water and metal since both can carry an electrical current. If you’re in the water or on a boat, head to shore immediately.
Find shelter. If going indoors is not an option, your hard-top vehicle with the windows rolled up or lower trees in a forest will work. Do not use a cliff or rocky overhang as shelter.
Avoid open spaces. Avoid open vehicles and open structures since these will not sufficiently protect you from lightning.
If you are in a group, separate. This will help reduce the number of injuries if lightning strikes the ground.
History.
In 1929, a platform was constructed near the top of a yellow pine tree making a 110′ crows nest. This was the highest platform occupied by a lookout on the Ochoco NF. A ground cabin was added in 1930 for the lookout’s living quarters. The existing 70′ Aermotor tower with 7’x7′ cab was built in 1932. It was moved to emergency use in the 1970s, but has been staffed more recently in the 2000s during extreme weather by the BLM. As of 2017, it has been listed for decommission by the Forest Service.
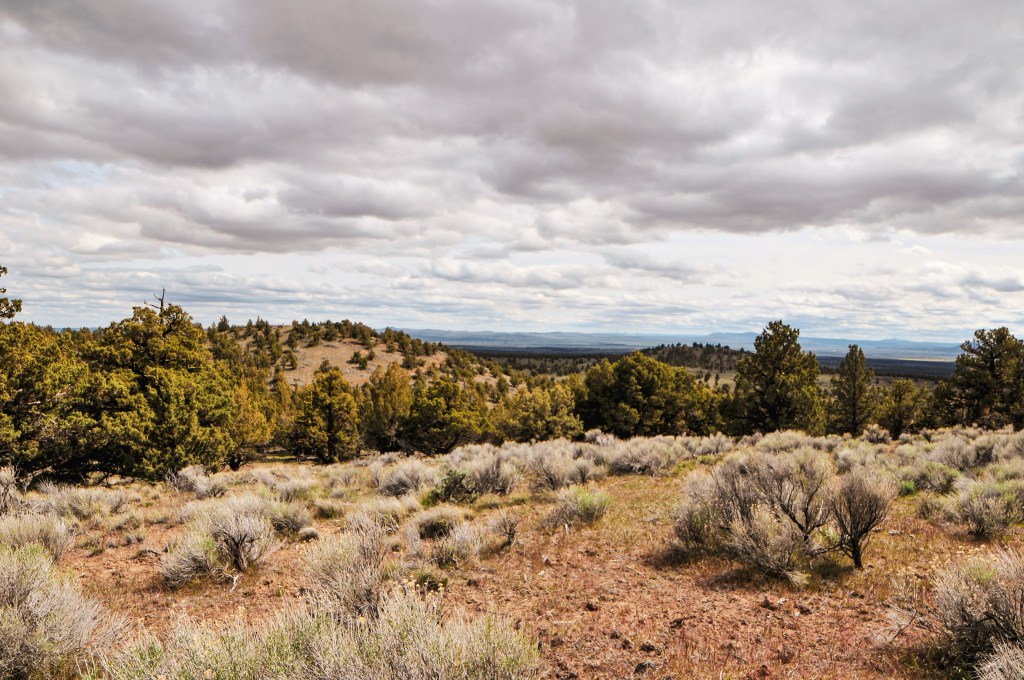
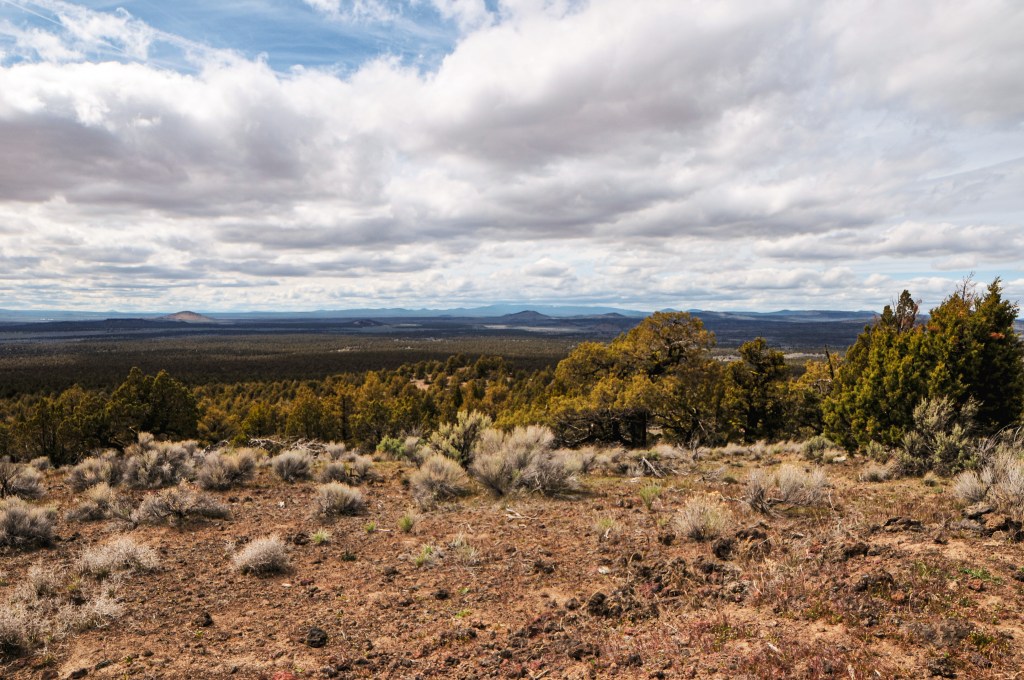
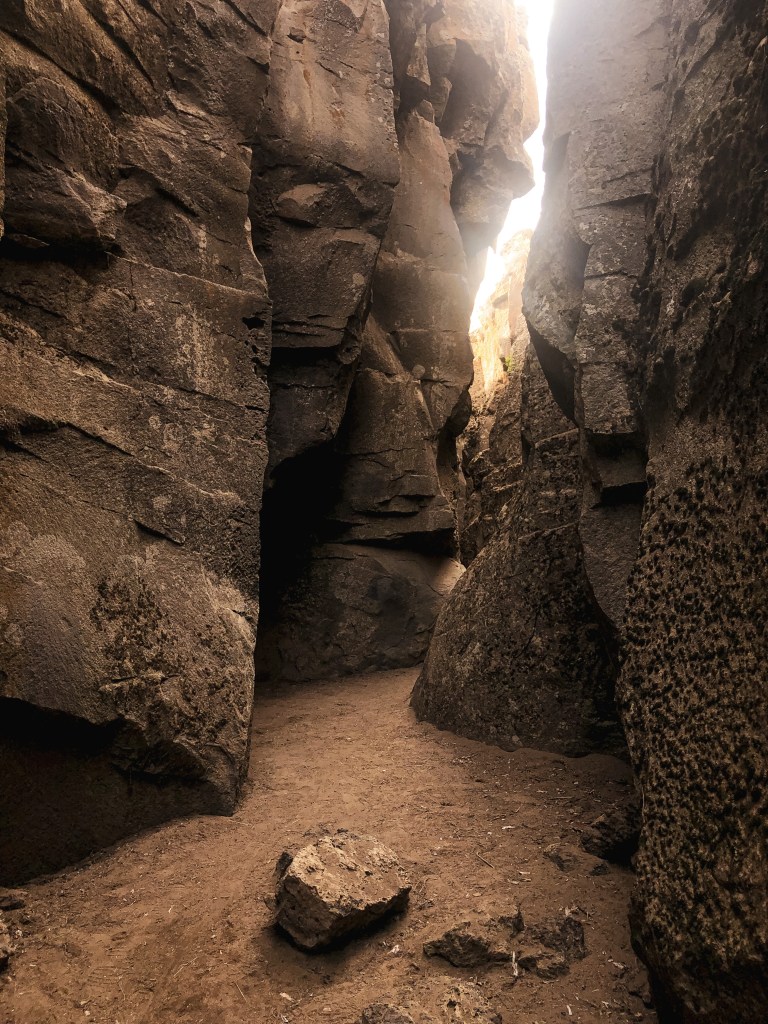
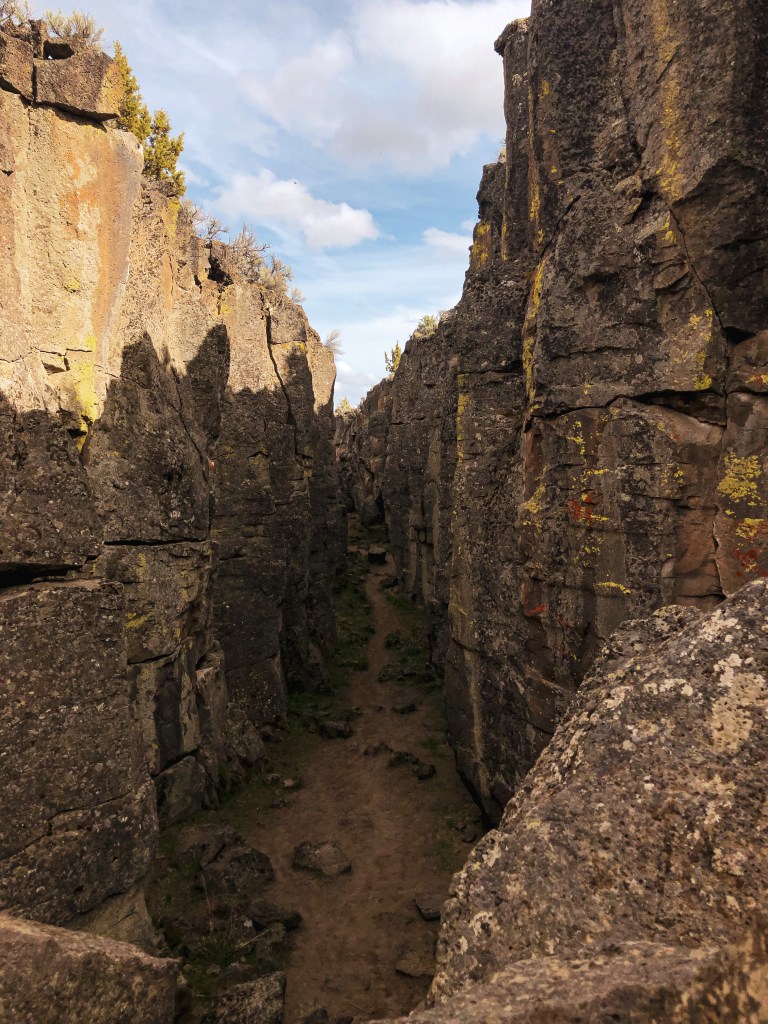
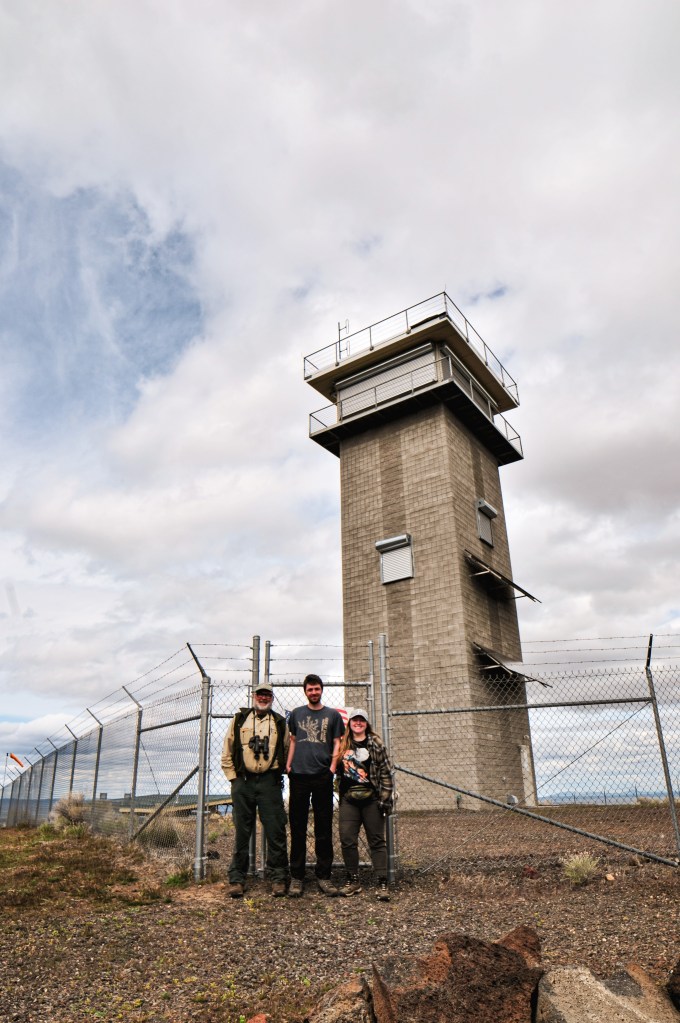
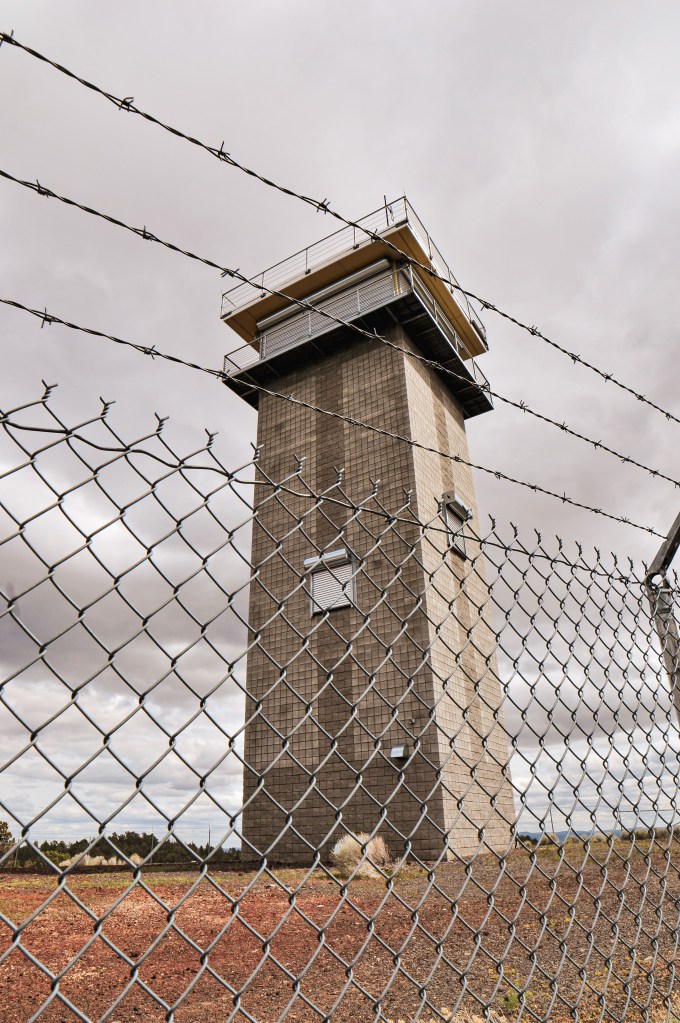
We woke up Saturday with a plan to make a day trip to Fort Rock, Green Mountain, and Crack in the Ground. We headed out of the Deschutes NF via NF-18 passing Cabin Lake Guard Station and made our first stop at the Fort Rock State Natural Area. This large semi-circle rock that now sits in Oregon’s high desert used to be an island in what was once a shallow sea. The oldest sandals dating back to 9,000-13,000 years old were discovered in this area. We hiked the short loop around the rock before moving on. We had to make an unexpected pit stop in Christmas Valley for gas and propane. For some reason our propane connection to our larger propane tank wasn’t working when we tried to make breakfast that morning. We had a half used disposable Coleman propane bottle that got the job done but it wouldn’t last us the remainder of the trip. We were relieved to find Christmas Valley was stocked with both despite one of the stores mentioning a supply shortage. Crisis averted. Just outside of Christmas Valley is a scenic byway aptly named Crack in the Ground Road that takes you directly to Green Mountain and Crack in the Ground. It is a rough and bumpy road but should be passable to most vehicles with caution. We drove past Crack in the Ground to Green Mountain Campground first. The small primitive campground is situated at the base of the lookout. From there it is only a few hundred feet up to the lookout. It was locked behind a barbed wire gate and still closed for the season. You still get a pretty good view from just the base. There were only a couple people camping in the campground, so we used one of the picnic tables for our lunch. On our way back out towards Christmas Valley we stopped at Crack in the Ground. This hike takes you through an old volcanic fissure that is roughly 2 miles long. We were running out of day again so we only went part way into the crack before heading back to camp.
History.
A fortress. A tower for a high-security prison. The tower that kept Rapunzel locked away. The current structure on Green Mountain hardly resembles what we would typically recognize as a fire lookout. The 50′ enclosed cinder block tower with observation cab was built in 2010. This lookout was funded by the American Recovery and Reinvestment Act of 2009. The recovery work consisted of demolishing the existing lookout, building the new lookout, and associated site work. The original 2-story lookout was built in 1963 with a 10′ concrete base and wooden live in cab.